Toy Car Garage

How to build a wooden toy car garage.
A visitor requested plans for one that he had seen on the internet. After a bit of research and a lot of thinking, I came up with this design.
This example has an elevator as well as ramps up to each floor.
Notes
Elevator Construction Details.
The elevator module is designed to run along guide rails situated both sides of the lift shaft.
I have seen a number of elevator designs, this one seems to be the easiest and most practical way.
The guide rails are made from half-round dowel.
There is a corresponding v-cut groove in the sides of the elevator, which allows the elevator to run up and down the elevator shaft.
Winch Assembly.
The winch is built separately and attached to the top of the elevator shaft.
How to make a winch drum and braking system included in the instructions.
Step by step instructions
It's always a good idea to have a careful look at the plans. Start by marking out the parts of your sheet of MDF or plywood.

Step 1.
Make the lift shaft. Fix the half round dowel lift guide to both sides of the lift shaft L1. Fix the supports in place as shown.

Step 2.
Make the car lift. Cut a V-groove in parts L3. Adjust the size of part L4 to ensure that it will run smoothly inside the lift shaft.

Step 3.
Ground floor assembly. Cut a bevel on the edges for the toy cars after marking out the position of the walls.
Glue the walls and the lift shaft in place. This forms the support for the first floor. Fix the support for the first floor ramp.

Step 4.
Fix the first floor in place. Fix the first floor ramp. Fix the edge surround (shown red) in place.

Step 5.
Second floor assembly. Fix the second floor supports in place as shown. Fit the second floor ramp. Fix the edges in place.

Step 6.
Fitting the third floor is much the same as the first and second floors.
The winch assembly is shown in place for reference only.
Winch Assembly
Cut out the parts to make the winch.
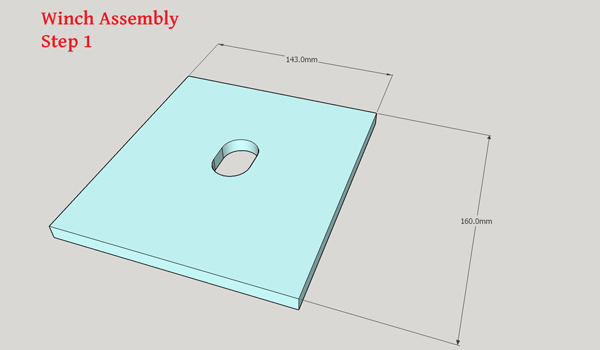
Step 7.
To start the winch assembly, cut out a slot in the middle. The size is not critical, around one inch in diameter should be enough.

Step 8.
Cut the slots for the winch axle in the gable ends and glue them in place.

Step 9.
The pieces shown red will be glued to the roof. The image shows how they will keep the winch drum in postiion.
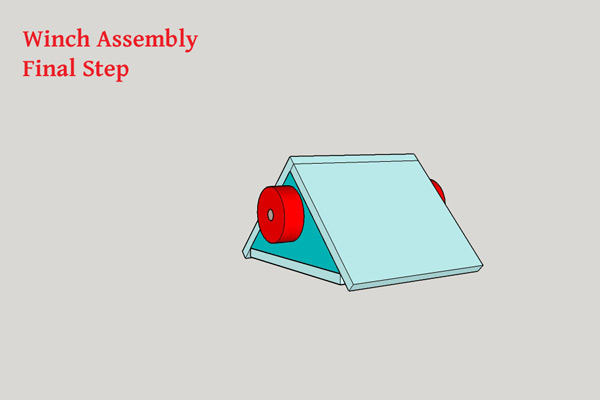
Step 10.
Showing the roof in place and the knobs fixed. The design allows access to the winch drum by making the roof unit removable.
Winch Drum & braking system
The winch drum is essentially a thick dowel with a smaller dowel fixed into each end.

The photo shows how I drill the holes in each end of the thick dowel with a simple jig.
What you end up with is something that looks very much like a toilet roll holder.

Hopefully the photo says it all.
Drill a hole in the base, wrap an elastic band around the drum and hook it onto a dowel, and pass the dowel through the hole.
This makes a very effective friction braking system, depending of course on how strong the elastic bands are.
Final Assembly.
Attach a cord to the winch drum, fix the other end to the elevator car, fix the winch assembly to the top of the lift shaft and you're good to go.
Download Toy Car Garage Plans
You found it at last, the link to Download toy car garage plans.
Build one or as many as you like. Use the form below to share photos and brag about it.
Share Your Toy Car Garage Project
Have you made a toy car garage? This is the place to share photos and describe your project.
See projects fellow toy makers
More photos of toys made from people all over the world.
Grandson Harry’s Birthday gift
I thought I would leave a little legacy and build this for my 2 year old grandson with the hope he passes it on to his children eventually.

Parking Garage, Gas Station, Charging Station and Car Wash!
Thanks for the plans; tis was fun to make. The woodworking was easy for me as I've done a fair amount in the past. But the painting was time consuming …

Scaled-down parking garage
I made this for my three year old son, who loves it. Thanks for plans and inspiration. :)
The design was a bit too big for me, so I adapted the plans …
George's Garage
Our autistic Grandson's birthday saw us buying him a whole set of Disney Carz discounted.
So he needed a garage.
Sensory colours (Chose the Disney Carz …

Grandsons Garage
Hi, made this 3 level garage for my grandsons as per your plans, over a period of 4 months, enjoyed every minute of it. Yes you can make it with just handtools, …

Steve’s multi story toy car parking garage
This parking lot was made to accommodate a collection of toy cars.
It comprised of five upper decks for cars and small vans and a larger lower deck …
More Toy Car Garage Plans

Here is a toy car garage made by bj383ss from Texas for his younngest son Ryan. He got the plans from a friend in Australia. The project was a lot of fun and easy to make

Steve's workshop - This toy garage was made as a present and was built to an approximate scale of 1:43, a popular scale for many brands of toy cars.
More Toys for Boys Projects
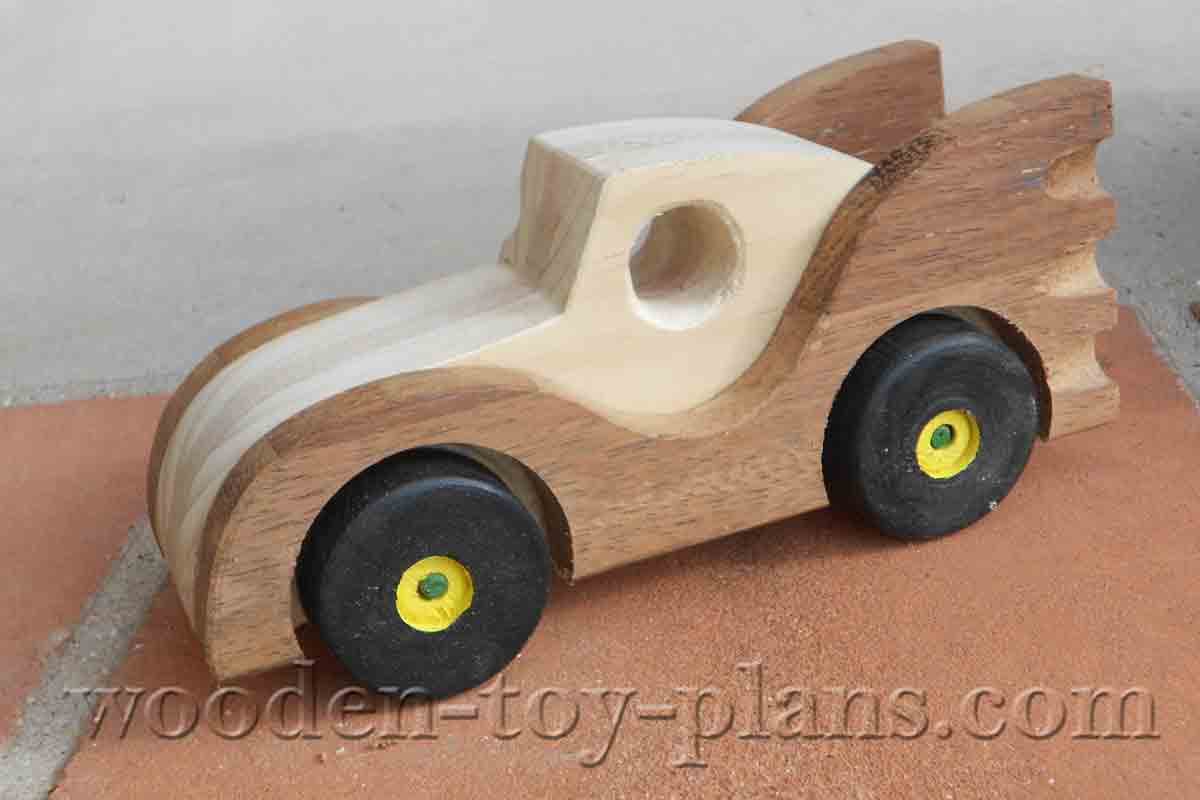
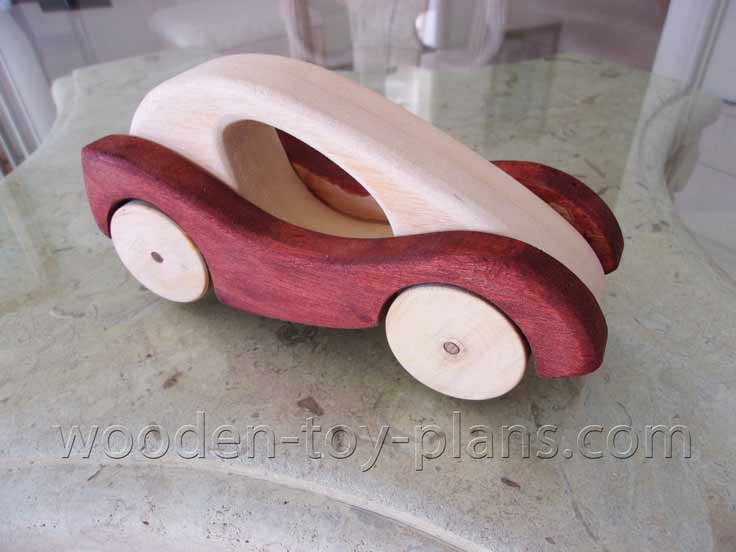
Batmobile Toy Car Plans build your home made toy. Full size templates.
Free plans to build your very own batmobile toy car out of wood. Simple design for beginners.
Wooden Toy Car Plans fun project free design
Free wooden toy car plans. Make your own wooden toy car with these free plans that include step by step instructions with diagrams and photos.
Wooden Toy Car Plans print ready PDF download woodcraft project
Wooden toy car plans free to download. Fun to make roadster ideal for beginner with limited tools. Detailed plans and building guide.


How to turn your hobby into a profitable business.
Solo Build It! (SBI!) is an online platform that empowers solopreneurs to build profitable online businesses. For over two decades, SBI! has been trusted by members to turn their passions, hobbies, or skills into successful ventures. Recently, the introduction of ChatGPT has ushered in a new era of AI-assisted content creation within SBI!.
Allow me to introduce you to Tai, your business-building AI assistant. Tai is now available in SBI! and can help you navigate the world of online entrepreneurship. Whether you’re a complete beginner or an experienced solopreneur, SBI! provides everything you need to create an income-generating website or blog.
Here are some reasons why starting an online business with SBI! and Tai is a great choice:
- Adaptable Lifestyle: Building an online business adapts to your desired lifestyle. Enjoy newfound freedom without being tied down to another job.
- Low Startup Costs: You don’t need significant capital to begin. All you require is a computer, internet access, a roadmap, and an affordable platform like SBI!.
- Flexibility: Work as much or as little as you want, wherever you choose. Once you’ve built a solid foundation, you can earn money even on days you don’t actively work.
- Portability: Take your business with you, especially if travel is part of your retirement dream.
- Global Impact: Help people worldwide by sharing your knowledge and expertise.
- Continuous Learning: Running an online business keeps your mind active and energized.
SBI! combines education, tools, and a proven process to give you the highest chance of achieving your financial goals. Whether you’re aiming for financial independence or simply want a rewarding project during retirement, SBI! can guide you.
If any of this resonates with you, I invite you to explore SBI! and discover how it can help you build your online retirement business. Even if you’re a beginner, SBI! provides the resources you need to succeed. Say hello to Tai and embark on your entrepreneurial journey! 🚀
Learn more and try Tai for free on the Solo Build It! website.
Recent Articles
-
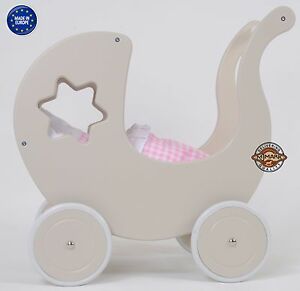
doll's pram on wheels
Mar 09, 25 08:53 AM
 My name is Maryvonne Please, could you help me? I want to build a doll pram but I would like a plan. Thank you very much for your answer.
 -
Toy doll high chair
Mar 09, 25 08:52 AM
Dear Sir/Madam I am looking for a plan to build a toy doll high chair, I built the rocking horse you have on your page from one of your plans and it worked -
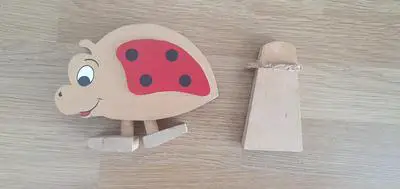
Angle of ramp
Mar 09, 25 08:51 AM
 Hello there I found your website whilst looking for details of how to make a new ramp for a walking ladybird that belonged to my children in the 90s. The