Spice Rack Plans

I am always looking for ideas for my next woodworking project. A spice rack is not only a useful gift, and I am hoping it would be appreciated by my lovely wife.
Making something to store bottles of spice is a quick and easy project even if you don't have many woodworking tools. It will always be special gift because you made it. I decided to design my own spice rack plans.
A little research on the internet turned up some useful information, but nothing that I really wanted to make, so I decided to design my own.
 Measurements
The first thing I did was to measure the height of a spice bottle, which came to 105mm high. Then I lined up 9 bottles in a row, and measured that distance, which came to about 370mm. Allowing for a little extra clearance by adding 10mm, thus making it 380mm.
I decided that I wanted three tiers, and so I made a quick sketch to see how everything would fit together.
A Spice Rack Plans For All Seasons
List of Materials
Once I had the sketch, it was time to make a list of what I would need.
- 12 x 63mm pine, 3.0m long. My local hardware didn't have this, so I got a length of 10 x 65mm meranti skirting board instead.
- 40mm long x 2mm dia. finish nails.
- 15mm long panel pins.
- 9.5mm (3/8") dia. dowel at least 1.5m long.
- 3mm thick masonite. This sometimes comes in project board size of 600mm x 900mm. I used backing board which is white on one side.
- Wood filler to match the wood you are going to use.
- A tin of varnish or varnishing stain.
Tools
This is a list of the tools I used in this project. Clicking on the link will take you to eBay where you can study the various options availabe and compare prices.
- Cordless Drill
- Jigsaw
- Hand Saw
- Combination Square
- Woodworking Clamps
- Hacksaw to cut the dowel axles to length.
- Wood file to round over all the edges.
- Sanding block with 120 and 80 grit sandpaper.
- A selection of drill bits.
You may also need a nail punch for recessing the panel pins, a 2mm drill bit for predrilling for the nails, and a 10mm drill bit to match the dowels.
Step by Step Instructions
This spice rack plan has been designed for spice bottles that measure roughly 41mm dia and 105mm tall. My guess is that most spice bottles are pretty much the same whever you may be.
Step 1
 Step 1
The first step is to cut the timber to size. This is where it's a good idea to develop the habit of "measure twice, cut once."
It's very important to have the pieces all the same length. One way to achieve this is to use the first piece to accurately cut the next piece.
 Using the disk sander
If you have a disc sander, clamp the pieces together and sand them square.
Do this for all the pieces.
Step 2
 Step 2
Mark the position of the middle shelves and the decorative curves and cut them with a band saw or a jigsaw.
I used the lid of a spray can for the smaller radius and the lid of cooking pot (that I am supposed to be fixing) for the larger diameter.
Clamp the two pieces together and drill the holes for the dowels.
The holes for the dowels should be a comfortable fit, so a little sanding of the dowels will help.
Finish the curves with the wood file and sandpaper before the final assembly.
Woodworking Tip
I am using glue and panel pins (small nails) to make the frame and fix the shelves.
With thin stock like this, it is a good idea to pre-drill the holes for the nails. It helps to prevent the wood from splitting, as well as guiding the nail in the right direction.
Now, instead of risking my really small and delicate twist drill bits, I simply cut the head of one of the panel pins and use that.
It works well for soft wood like pine and light maple. For hard wood, the panel pin is likely to heat up and go soft like spaghetti when I drill more than one hole. Just so you know.
Step 3
 Step 3
Glue up the outer frame first. I like to make a handed pair - two L-shapes nailed together, making sure they are square.
These two shapes are fixed together making the outer frame.
A small dab of glue and the middle shelves are fixed in place with panel pins.
Wipe away any excess glue with a damp cloth.
Step 4
 Step 4
The dowels are cut to length using a hacksaw. Drill a hole for the nails that will pin them in place. I find this is a better method than trying to glue them in place.
Final Assembly and Finishing
Using a nail punch, knock all the nails just below the surface.
Measure and cut the backing board to size. I simply nailed mine without glue. 2 nails in each corner, about the width of your thumb away from the corner, and 1 nail in the middle. That should be enough.
Here again, it would be a good idea to pre-drill the holes as I mentioned in Step 2.
Fill all holes and imperfections with a matching wood filler.
Allow the wood filler to dry, then give everything a light sanding with 120 grit sandpaper. Apply at least two coats of varnish according to manufacturers instructions.
I hope you will enjoy making this project from these free spice rack plans.
Free Woodworking Plans Digital Download
Share your spice rack storage project
Here is a place to share photos and the story about your spice rack storage project.
More Free Woodworking Projects
Woodworking Projects Gallery - your photos, comments & votes
Woodworking Projects Gallery share a photo of your favourite woodworking design and the story behind it. Comment on the projects & vote for your favourite.
Easy Projects free plans for the weekend woodworker
Easy Projects free plans to make bookends
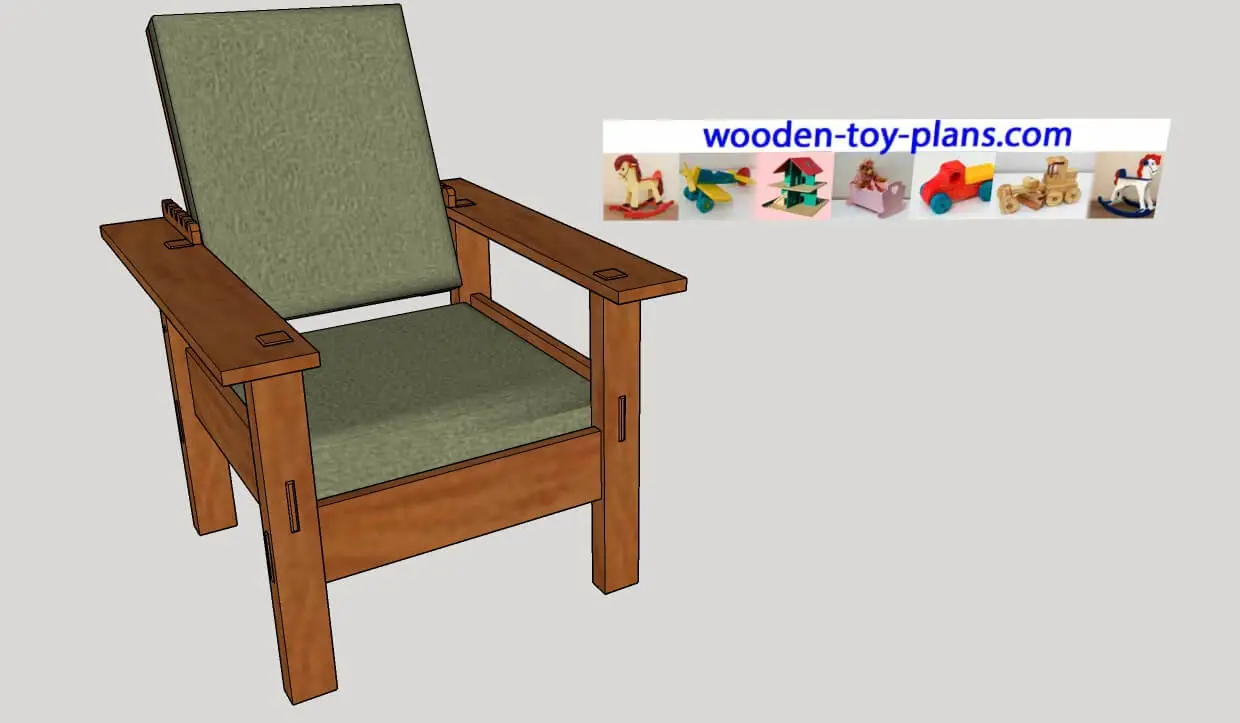
Free chair woodworking plans easy woodworking project basic tools
Free printable PDF chair woodworking plans woodworking projects, with dimension sketches and details of all the parts


How to turn your hobby into a profitable business.
Solo Build It! (SBI!) is an online platform that empowers solopreneurs to build profitable online businesses. For over two decades, SBI! has been trusted by members to turn their passions, hobbies, or skills into successful ventures. Recently, the introduction of ChatGPT has ushered in a new era of AI-assisted content creation within SBI!.
Allow me to introduce you to Tai, your business-building AI assistant. Tai is now available in SBI! and can help you navigate the world of online entrepreneurship. Whether you’re a complete beginner or an experienced solopreneur, SBI! provides everything you need to create an income-generating website or blog.
Here are some reasons why starting an online business with SBI! and Tai is a great choice:
- Adaptable Lifestyle: Building an online business adapts to your desired lifestyle. Enjoy newfound freedom without being tied down to another job.
- Low Startup Costs: You don’t need significant capital to begin. All you require is a computer, internet access, a roadmap, and an affordable platform like SBI!.
- Flexibility: Work as much or as little as you want, wherever you choose. Once you’ve built a solid foundation, you can earn money even on days you don’t actively work.
- Portability: Take your business with you, especially if travel is part of your retirement dream.
- Global Impact: Help people worldwide by sharing your knowledge and expertise.
- Continuous Learning: Running an online business keeps your mind active and energized.
SBI! combines education, tools, and a proven process to give you the highest chance of achieving your financial goals. Whether you’re aiming for financial independence or simply want a rewarding project during retirement, SBI! can guide you.
If any of this resonates with you, I invite you to explore SBI! and discover how it can help you build your online retirement business. Even if you’re a beginner, SBI! provides the resources you need to succeed. Say hello to Tai and embark on your entrepreneurial journey! 🚀
Learn more and try Tai for free on the Solo Build It! website.
Recent Articles
-
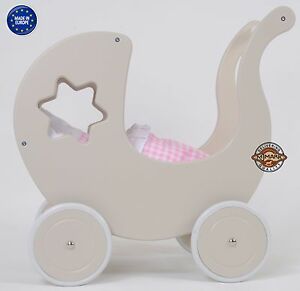
doll's pram on wheels
Mar 09, 25 08:53 AM
 My name is Maryvonne Please, could you help me? I want to build a doll pram but I would like a plan. Thank you very much for your answer.
 -
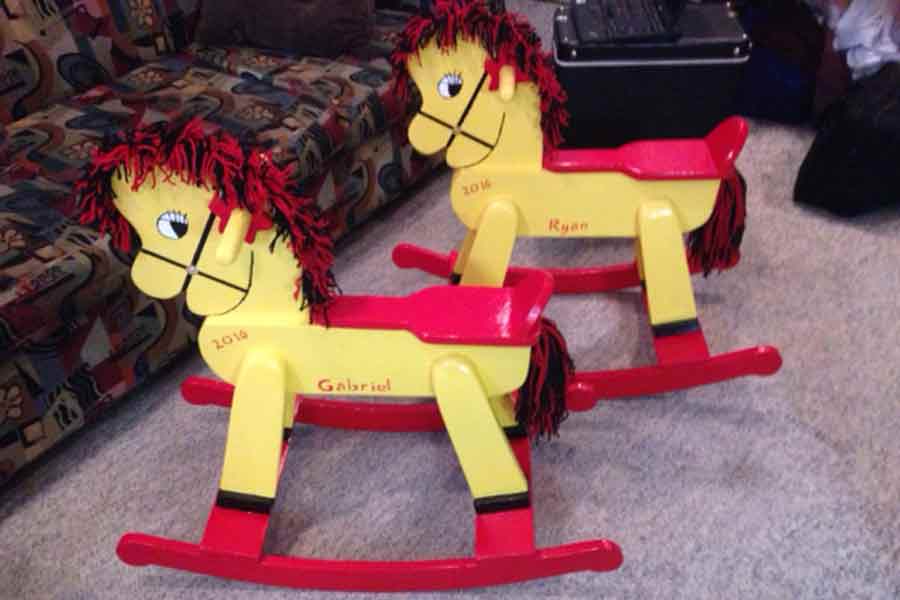
Toy doll high chair
Mar 09, 25 08:52 AM
Dear Sir/Madam I am looking for a plan to build a toy doll high chair, I built the rocking horse you have on your page from one of your plans and it worked -
Angle of ramp
Mar 09, 25 08:51 AM
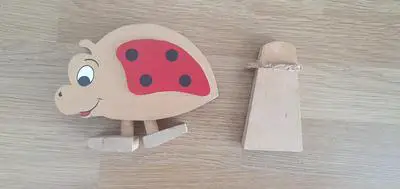
 Hello there I found your website whilst looking for details of how to make a new ramp for a walking ladybird that belonged to my children in the 90s. The