Easy Projects
Making book ends is one of the easy projects you can make in a weekend. A set of custom book ends makes a great gift for family and friends, and as a novelty woodcraft item, they sell well at craft markets.
It can be simply a matter of joining two pieces of wood together to make a simple L shape, and it could also evolve into a more creative endeavour. There is simply no limit if you use your imagination.
This book end project was inspired by a project in a book that I found many years ago.
This was a time before computers, so I made a copy on a photocopy machine and pasted the patterns on to a piece of thin card to use as a template.
Materials
Just about any kind of wood will do. The first set I made with 16mm MDF board, but it got wet and was ruined. So I made another set with 19mm pine project board from my scrap wood bin.
Cutting list: 19mm thick pine wood project board 1200mm long cut to the following lengths:
- 2 x 220mm for the shapes
- 1 x 210mm backrest for the girl
- 225 x 225mm backrest for the boy
- 2 x 155mm base for both
10 wood screws No. 6 gauge 35mm long.
Wood glue.
Paint of your choice I used artist acrylic colours, but not the very expensive type. This is only a wood craft project, after all.
Don’t forget to apply a wood primer for painting.
Easy Project Tools
You only really need three kinds of tools to make this diy bookends project.
Something to drill holes.
Almost everyone does have an electric drill today.
A cordless drill is a popular option, and also useful for driving screws.
A drill press is essential for drill holes accurately, and very useful for many other things, such as making wooden wheels.
Something to cut with.
For cutting curves.
If you are on a really tight budget, you could use a fret saw.
There is a fair amount of skill involved, and to be quite
honest, I have never had the patience to develop that skill. Why? - because I bought a really cheap one, and have never been happy with it.
Slightly more expensive, but very popular is the scroll saw. This is the tool that I used for this project. Although it is the less expensive entry level model, it’s OK for the kind of projects I make.
Whichever saw you get, make sure you purchase good quality blades.
The third option is a band saw, also very popular for woodworking, and if you can afford it, get a really good one.
For making straight cuts.
A tenon saw (aka back saw) for making fine cuts, and the ever popular hand saw.
Measuring Tools.
A combination square is something I use all the time.
A sliding bevel useful for transferring angles.
Disclosure.
Please note these links will take you to eBay.com, and if you happen to buy something, I do earn a small commission. Thank you for supporting wooden-toy-plans.com
Step by step instructions
Step 1
For scroll saw projects, I prefer to use paper glue to fix the pattern to the work-piece. Because this is a very basic outline, I made a template with a piece of thin cardboard.
Trace the outline and cut out the pattern.
Step 2
Cut out the pattern for the back rest. Note there are two different shapes here, one for each side.
Step 3
The base is already cut to size. Mark out and drill pilot holes for the screws.
Make the L – shape and check to see if the boy and the girl will fit properly.
Step 4
It is probably easier to paint the patterns before assembly, starting with the wood primer, according to the instructions.
Step 5
Once the paint is dry, you can assemble your project and proudly show if off to family and friends. Why not take a photo and send it to me – I would love to see how you made yours, and it would inspire other to make one too.
Download Easy Projects Bookends
 Download Print Ready PDF
You might like these
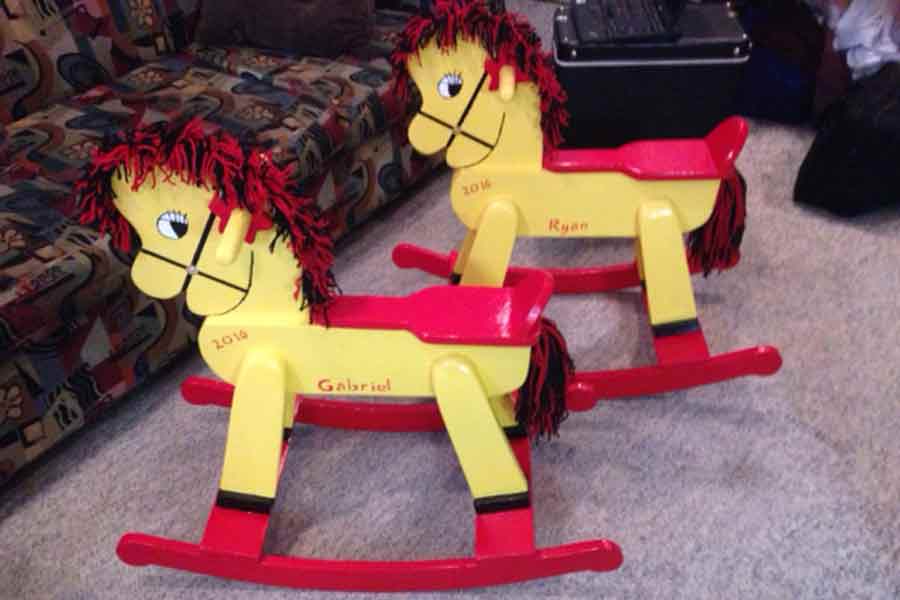
Woodworking Projects Gallery - your photos, comments & votes
Woodworking Projects Gallery share a photo of your favourite woodworking design and the story behind it. Comment on the projects & vote for your favourite.
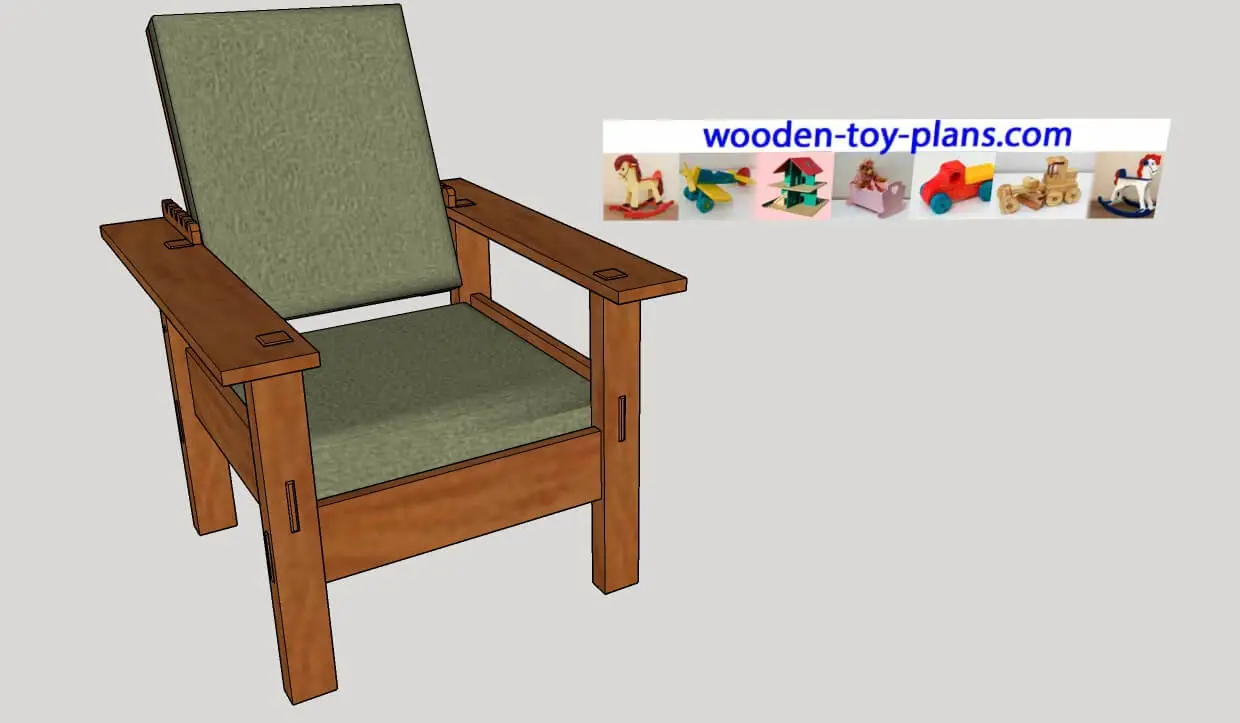
Free chair woodworking plans easy woodworking project basic tools
Free printable PDF chair woodworking plans woodworking projects, with dimension sketches and details of all the parts
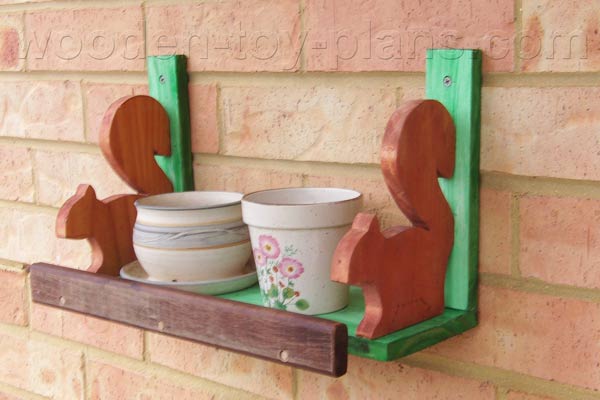
Simple shelf woodworking plans
easy project home improvement storage solution, these shelf woodworking plans are free to download Not just one, but three designs to choose from.
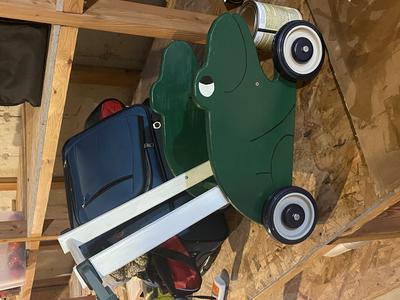
Easy woodworking project using scrap and recycled wood and a few simple hand tools.
Visit the woodworking projects gallery to view projects from people all around the world.

How to turn your hobby into a profitable business.
Solo Build It! (SBI!) is an online platform that empowers solopreneurs to build profitable online businesses. For over two decades, SBI! has been trusted by members to turn their passions, hobbies, or skills into successful ventures. Recently, the introduction of ChatGPT has ushered in a new era of AI-assisted content creation within SBI!.
Allow me to introduce you to Tai, your business-building AI assistant. Tai is now available in SBI! and can help you navigate the world of online entrepreneurship. Whether you’re a complete beginner or an experienced solopreneur, SBI! provides everything you need to create an income-generating website or blog.
Here are some reasons why starting an online business with SBI! and Tai is a great choice:
- Adaptable Lifestyle: Building an online business adapts to your desired lifestyle. Enjoy newfound freedom without being tied down to another job.
- Low Startup Costs: You don’t need significant capital to begin. All you require is a computer, internet access, a roadmap, and an affordable platform like SBI!.
- Flexibility: Work as much or as little as you want, wherever you choose. Once you’ve built a solid foundation, you can earn money even on days you don’t actively work.
- Portability: Take your business with you, especially if travel is part of your retirement dream.
- Global Impact: Help people worldwide by sharing your knowledge and expertise.
- Continuous Learning: Running an online business keeps your mind active and energized.
SBI! combines education, tools, and a proven process to give you the highest chance of achieving your financial goals. Whether you’re aiming for financial independence or simply want a rewarding project during retirement, SBI! can guide you.
If any of this resonates with you, I invite you to explore SBI! and discover how it can help you build your online retirement business. Even if you’re a beginner, SBI! provides the resources you need to succeed. Say hello to Tai and embark on your entrepreneurial journey! 🚀
Learn more and try Tai for free on the Solo Build It! website.
Recent Articles
-
Toddler walker
Jan 29, 24 06:20 PM
 Made for my daughter Lily
 -
Rich S
Sep 10, 23 01:44 AM
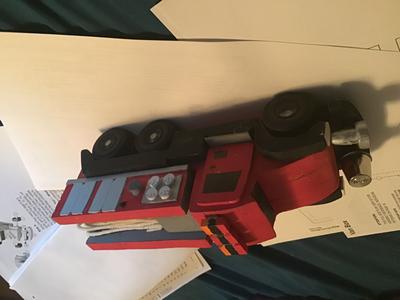 I got the tow & box van with the dump truck plans from you. I enjoyed doing the tow truck but modified the plans to make a fire truck. I was on a local
 -
Grandson Harry’s Birthday gift
May 28, 23 08:45 PM
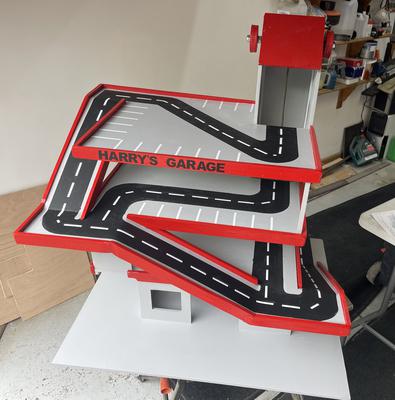 I thought I would leave a little legacy and build this for my 2 year old grandson with the hope he passes it on to his children eventually.