Chair Woodworking Plans

Free chair woodworking plans, how to make a Morris chair with an adjustable reclining back. I have made two versions of this design, one in metric optimised for standard timber sizes, and the other in inches.
To make the original version in inches I would think involves a lot more equipment than I have in my modest workshop. I'm thinking table saw, jointer and thicknesser, with a drill pressed fitted with a mortising attachment.
Of course it's not impossible to make this woodworking project using only hand tools, now is it?
List of Materials
I am going to focus on the metric version, because the wood is available as ready to use in standard sizes.
Here is a list of what you may need to build this project: dimensions are nominal, in millimetres.
- Legs 4 pieces 635 long by 75 wide by 45 thick.
- Stretchers 4 pieces 560 long by 140 wide by 19 thick.
- Armrest 2 pieces 915 long by 140 wide by 19 thick.
- Backrest uprights 2 pieces 610 long by 65 wide by 19 thick.
- Backrest stretchers 2 pieces 500 long by 50 wide by 19 thick.
- Backrest slats 3 pieces 550 long by 38 wide by 12 thick.
- Seat 9mm thick MDF.
So, in summary, these are the totals given as the standard nominal lengths in meters.
Please note I am not suggesting that you have these cut to length, this is just a simplified shopping list that you can take to your local timber supplier.
- 4.2m length of 140 by 19
- 1.2m length of 65 by 19
- 1.2m length of 50 by 19
- 1.8m length of 38 by 12
- 9mm MDF project board, usually 900 by 600.
Woodworking Joint Detail
One of the features of Mission style furniture is the exposed through tenon which is also bevelled.
Dowel joints are popular with modern furniture factories today, but they invariably fail over time.
To make repairs, I have used long woodscrews as shown in the illustration below.
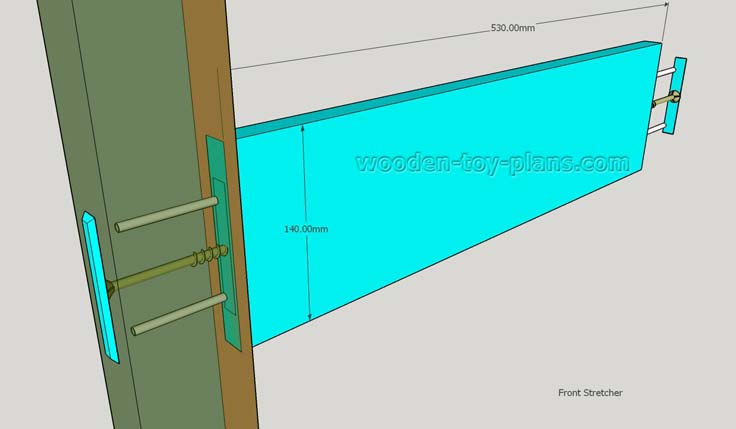
This is how I would make the joint between the stretchers and the legs. The leg is shown translucent to make it a little easier to explain.
Instead of cutting a mortise and tenon joint, I would like to try to make the connection as shown - two dowels and a large woodscrew in the middle, capped off with a bevelled plate to give the impression of a Mission style mortise and tenon joint.
The Story So Far

Here the basic frame is complete and the backrest and armrest are in place before final assembly. I have to make sure there is enough between clearance before marking out and fitting the armrests.
I am using recycled timber so you may see the odd hole here and there.
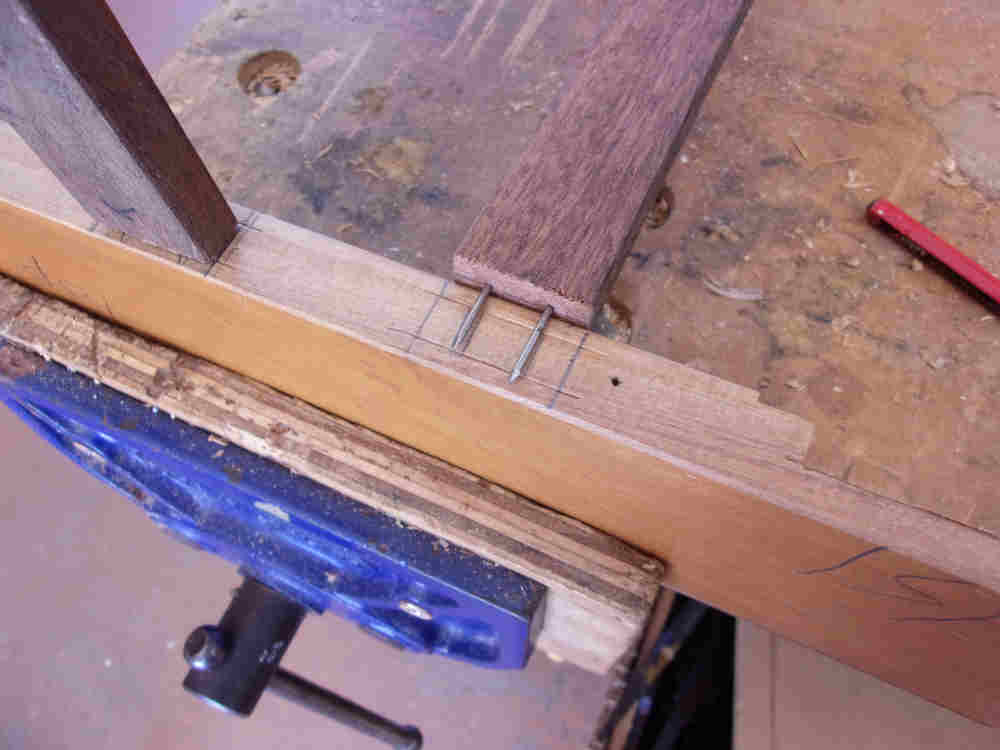
Making The Backrest

Cutting the half lap joint for the backrest using a handsaw.
 Dowel joints or mortise and tenon joints?
In the photo above, I have tried to show the experiments pertaining to the joining of the slats to the frame.
First I tried to make a mortise and tenon joint, that didn't go too well. The rails are 19 mm thick, the slats at 12mm, so I would have to shave off at least 3mm on each side to make a tenon of 6mm thick.
Perhaps this would
be easy enough with a table saw, or an overhead cross cut saw, or
even a bandsaw. Having none of these machines, I would have to do it
by hand.
Then there is the
matter of cutting the mortise. Most would use a mortise cutting
attachment in a drill press, but I very much doubt there is one as
small as 6mm.
Seems to me a lot of
tedious work for very little reward.
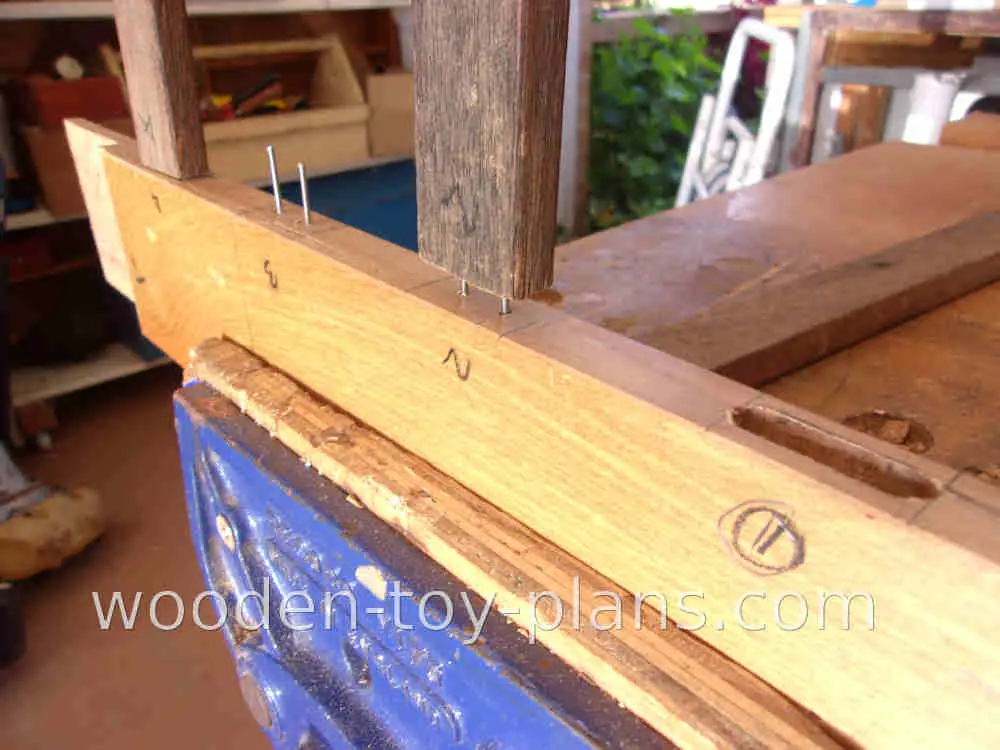
Why not use dowel
joints, but instead of wooden dowels, use small nails? I used panel
pins about 40mm long and about 1.5mm in diameter, with the head cut
off.
Here is the tip:
Drill pilot holes
for the dowel nails. Convention would dictate using a small drill,
and to achieve a modicum f holding power, a drill bit smaller than
the diameter of the nail.
Here’s the thing:
such a small drill bit in a hefty electric drill is like using an
elephant to swat a fly. Besides, the drill bit is likely to break,
and good luck with removing that.
Instead of a small
drill bit, I used a nail, also with the head cut off, in an egg
beater hand drill.
One of the
advantages of using a nail to drill small holes is that you are still
going to get a tight fit, mainly because you are not cutting any wood
fibres.
You can use any type of drill, but bear in mind the speed of an electric drill will heat up the nail and make it go soft. This is not a problem if you are going to drill just a few, and let the nail cool down a bit. I discovered this one one day when I was happily drilling a whole batch, after a while, a strange thing started happening – the nail took on the characteristics of spaghetti.
This is how I did it.
Proceed in this manner to achieve the best results, unless you have a better way, we would be grateful if you would like to share your tip. There should be a FAQ at the end of this page.
First, I marked out the position for two dowel pins in the end grain of the slats. Of course, the drill bit is going to wander off a fraction, so I am going to use the dowel nails to locate the position of the holes in the corresponding rail. Much like the dowel centres for wooden dowels.
The depth of the holes should be half the length of the nails, if not a little less.
By the way, in the final assembly, I am not using any glue for the slats – only for the frame.
Download Chair Woodworking Plans
Use the form below to download a set of chair woodworking plans with dimensions and details of the component parts.
Metric Version using standard size timber.
Original Version in inches if you have a fully equipped workshop and you can mill your own timber.
More Chair Woodworking Plans
Folding Garden Chair

A Sketchup model of a folding garden chair from an image I found.
The free printable PDF plans includes enough information to build one.
Geometric Stool

Inspired by the Monbraee Stool by Erica Zhu. I made this SketchUp model.
The original is made in wood, as far as I can tell.
Just imagine how good it would look using brushed stainless steel and marble.
I have added unnecessary complexity to the project and made it almost impossible to build in real life.
But it not only fun to model in SketchUp, I also learned a few things.

Showing the parts that make up the pyramid in colour.
Click on the image to have a closer look.

Here I am trying to show the apex of the pyramid shape, and how there is an extra tab that we need to complete the construction.

Exploded top view of the pyramid component.
I made an isometric view as well, but the shape made for very confusing perspectives.

Detail of one of the component parts showing the extra tab.

At first, I thought the frame could be made using square tubing.
As I developed the model, I realized the cross section is in fact a trapezoid.
So I unfolded the trapezoid shapes thinking it would be an option to fold a pair in an L shape and weld the two together.
Once again, I realized it would be impractical to cut an obtuse triangle in sheet metal. Not impossible, but difficult.
Portable Beach Chair

How to build a portable beach chair. Free chair woodworking plans PDF download by Rob Brown, editor of Canadian Woodworking and Home Improvement.
Nothing too complicated here, make them in batches for the whole family.
Tools like bandsaw, table saw and planer is suggested, but I think it can be made with portable power tools.
The Pallet Book
Available for sale on eBay. Be careful, I may earn a commission if you buy this book.
|
Pallet Book: DIY Projects for the Home, Garden, and Homestead by Chris Peterson Just some of the projects included are: A handy vertical planter; Coffee table; Spice rack; Serving tray; Compost bin; Dog house; Bookshelves; Wine bottle rack; Side table and of course, the Adirondack style chair woodworking plans. |


How to turn your hobby into a profitable business.
Solo Build It! (SBI!) is an online platform that empowers solopreneurs to build profitable online businesses. For over two decades, SBI! has been trusted by members to turn their passions, hobbies, or skills into successful ventures. Recently, the introduction of ChatGPT has ushered in a new era of AI-assisted content creation within SBI!.
Allow me to introduce you to Tai, your business-building AI assistant. Tai is now available in SBI! and can help you navigate the world of online entrepreneurship. Whether you’re a complete beginner or an experienced solopreneur, SBI! provides everything you need to create an income-generating website or blog.
Here are some reasons why starting an online business with SBI! and Tai is a great choice:
- Adaptable Lifestyle: Building an online business adapts to your desired lifestyle. Enjoy newfound freedom without being tied down to another job.
- Low Startup Costs: You don’t need significant capital to begin. All you require is a computer, internet access, a roadmap, and an affordable platform like SBI!.
- Flexibility: Work as much or as little as you want, wherever you choose. Once you’ve built a solid foundation, you can earn money even on days you don’t actively work.
- Portability: Take your business with you, especially if travel is part of your retirement dream.
- Global Impact: Help people worldwide by sharing your knowledge and expertise.
- Continuous Learning: Running an online business keeps your mind active and energized.
SBI! combines education, tools, and a proven process to give you the highest chance of achieving your financial goals. Whether you’re aiming for financial independence or simply want a rewarding project during retirement, SBI! can guide you.
If any of this resonates with you, I invite you to explore SBI! and discover how it can help you build your online retirement business. Even if you’re a beginner, SBI! provides the resources you need to succeed. Say hello to Tai and embark on your entrepreneurial journey! 🚀
Learn more and try Tai for free on the Solo Build It! website.
Recent Articles
-
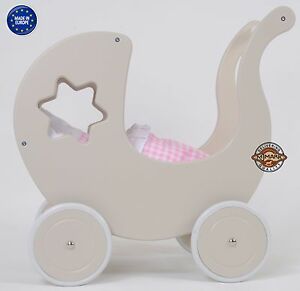
doll's pram on wheels
Mar 09, 25 08:53 AM
 My name is Maryvonne Please, could you help me? I want to build a doll pram but I would like a plan. Thank you very much for your answer.
 -
Toy doll high chair
Mar 09, 25 08:52 AM
Dear Sir/Madam I am looking for a plan to build a toy doll high chair, I built the rocking horse you have on your page from one of your plans and it worked -
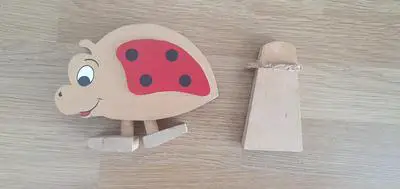
Angle of ramp
Mar 09, 25 08:51 AM
 Hello there I found your website whilst looking for details of how to make a new ramp for a walking ladybird that belonged to my children in the 90s. The