Wooden Bookshelf Plans

Wooden bookshelf plans for your next home improvement project.
Made a SketchUp model of this tall bookshelf. I have borrowed Steve, who works at Sketchup to give you an idea of the size of the tall bookshelf.
Unit is 1200mm wide by 1800mm high, standing on an optional plinth, it can be used as a room divider.
I have made quite a few of these bookshelves over the years, in fact every time we move house.
Materials
For this woodworking project I used 16mm thick by 300mm wide white melamine shelving boards. These wooden bookshelf plans can be adapted for wooden shelves.
You can also make it any size you want.
One thing that is important to remember is that the backing board is important to the structural integrity of this wooden bookshelf. It forms a brace to stop the bookshelves from falling over like dominoes.
Screws
To hold the shelves in place, I used No. 6 screws by 38mm long.
Because the rebate supports the shelf, and the screws hold it in place, I suggest that 6 gauge would be better, because they are thinner, less likely to split the shelving boards.
I also pre drilled the holes and used a countersink bit. Even though most wood screw have nibs under the head to create their own countersink, it will more than likely strip the thread before the head of the screw sits flush with the surface.
To camouflage the screws, I used plastic screw caps.
Tools
This project can be made with common tools. If you can get the shelving boards cut to size, you won't even need a circular saw.
However, before you get too excited, there is one tool that you will need to cut rebates and that is the woodworking router.
This tool is option, I think the bookshelves have a certain appeal when the shelves are let into the side supports.

Exploded view to show how it has been built.
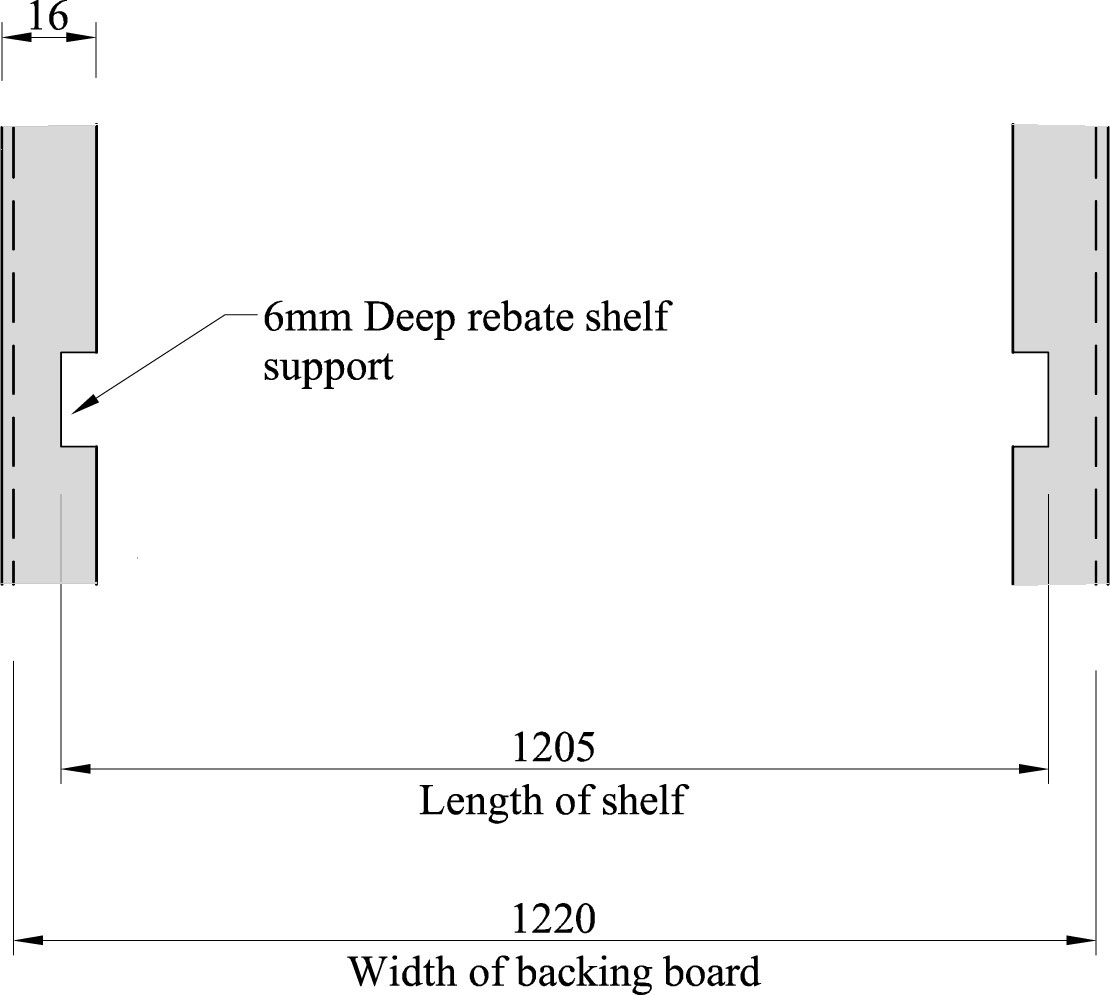
 Shelf Support Detail
Close up of the rebate cut into the vertical sides to support the shelves.
Why cut rebates to support the shelves? Why can’t I just use those little shelf support thingies I can buy from the hardware? Why don't I just butt join the shelves and hold them in place with a couple of screws?
So many questions. The short answer is the size of this bookshelf.
Personally, I don’t have too much confidence in those store bought shelf support in a project of this size.
Also, just using screws, and no rebate, means the screws are supporting the weight of whatever you put on the shelves.
The shelf is likely to split mainly because half of the thickness of the shelf is doing all the work.
If the shelf is 16mm thick, then strictly speaking, from an engineering perspective, there is only an effective thickness of half the shelf minus the radius of the screw equals about 6mm at the most.
So there you have it.
 Cut out the notch
Notch is cut out of each shelf to match the stopped rebate.

Sketchup model of the plinth.
 Spacing the shelves
This requires a bit of explaining. Here I am marking out the position of each shelf using a dowel and some clothes pegs.
In the foreground you can see how I have clamped the dowel in place. You can also see my D-handle Makita router on the left.
I can move the clothes pegs up and down until I am happy with the spacing.
 Line up the jig to cut the rebates
There is indeed method in my madness. Even though the method of marking out the dimensions looks totally inaccurate, I can line up the slots in the way that I have shown in the sketch above.
Cutting The Shelves To Length
I wanted to hide the edge of the backing board behind the vertical supports of the shelving unit.
Wooden Bookshelf Plans
I prefer to build the shelves in the same room that I am going to use them. Saves me the effort of trying to haul them up the stairs.
 Make the plinth first.
Fixed the lower shelf to the plinth.
 Build the shelving unit face down.
I prefer to build this tall bookshelf in place, face down. Here I am up to the third shelf. The white rectangular shape is a piece of hardboard I use to make sure the joint lines up.
Important to note that I am also pre drilling the holes for the screws, and making a countersink for the head of the screw.

Before the backing board is fixed. The shelves are in place, and checked for square by measuring the diagonals.

Here I am fixing the backing board with one inch penny nails. I am also using a chalk line to line up with the position of the shelves, as you can see by the two red dots in the photo.
I am also pre-drilling the holes for the nails. This is an old trick I learned from my grandfather.
With this technique, I am not actually trying to drill a hole, just create a pathway through the fibers of the wood. There should be still enough friction to hold the nail.
The reason for this is to make sure the nails go in straight. Even though the backing board is soft enough to drive a nail into, the nail may still bend below the surface and crack the shelf underneath.
What I do is to cut the head off a nail and mount it into a drill just like a drill bit. I still have an old fashioned egg beater drill, so I use that because it is nice and slow.
With this technique, I have used a power drill, and because it spins so much faster, it does not take too long for the nail to heat up and go soft.
How many nails in a row? I usually start with one in the middle, then to the left and the right, one each in the middle again. My feeling is that should be enough.
Final Steps
Now the bookshelf is almost complete. All that remains is to hide the screws with screw caps.
 Plastic Screw Caps. Plastic Screw Caps. |
 Plastic Screw Caps. Plastic Screw Caps. |
Share Your Bookshelf Project Photos
If you have made a bookshelf using these ideas, we would love to see it.
Any questions, comments or suggestions, please fill out the form below.
More Wooden Bookshelf Plans
An idea for a corner bookshelf. No plans for this, you can make it up as you go.
Ask me anything, share your project
Here you can ask me anything, share up to 4 photos of your projects.

How to turn your hobby into a profitable business.
Solo Build It! (SBI!) is an online platform that empowers solopreneurs to build profitable online businesses. For over two decades, SBI! has been trusted by members to turn their passions, hobbies, or skills into successful ventures. Recently, the introduction of ChatGPT has ushered in a new era of AI-assisted content creation within SBI!.
Allow me to introduce you to Tai, your business-building AI assistant. Tai is now available in SBI! and can help you navigate the world of online entrepreneurship. Whether you’re a complete beginner or an experienced solopreneur, SBI! provides everything you need to create an income-generating website or blog.
Here are some reasons why starting an online business with SBI! and Tai is a great choice:
- Adaptable Lifestyle: Building an online business adapts to your desired lifestyle. Enjoy newfound freedom without being tied down to another job.
- Low Startup Costs: You don’t need significant capital to begin. All you require is a computer, internet access, a roadmap, and an affordable platform like SBI!.
- Flexibility: Work as much or as little as you want, wherever you choose. Once you’ve built a solid foundation, you can earn money even on days you don’t actively work.
- Portability: Take your business with you, especially if travel is part of your retirement dream.
- Global Impact: Help people worldwide by sharing your knowledge and expertise.
- Continuous Learning: Running an online business keeps your mind active and energized.
SBI! combines education, tools, and a proven process to give you the highest chance of achieving your financial goals. Whether you’re aiming for financial independence or simply want a rewarding project during retirement, SBI! can guide you.
If any of this resonates with you, I invite you to explore SBI! and discover how it can help you build your online retirement business. Even if you’re a beginner, SBI! provides the resources you need to succeed. Say hello to Tai and embark on your entrepreneurial journey! 🚀
Learn more and try Tai for free on the Solo Build It! website.
Recent Articles
-
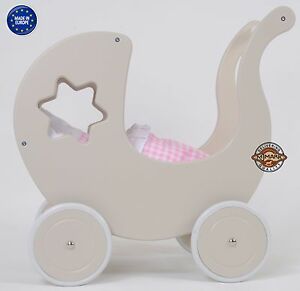
doll's pram on wheels
Mar 09, 25 08:53 AM
 My name is Maryvonne Please, could you help me? I want to build a doll pram but I would like a plan. Thank you very much for your answer.
 -
Toy doll high chair
Mar 09, 25 08:52 AM
Dear Sir/Madam I am looking for a plan to build a toy doll high chair, I built the rocking horse you have on your page from one of your plans and it worked -
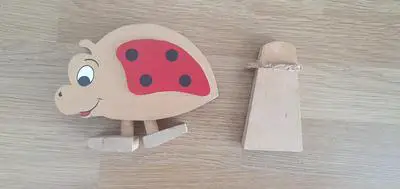
Angle of ramp
Mar 09, 25 08:51 AM
 Hello there I found your website whilst looking for details of how to make a new ramp for a walking ladybird that belonged to my children in the 90s. The