DIY Baby Walker
This DIY baby walker is based on a project made by Marshall Townsend for his son Carter.

When I first saw it, I was curious about how it works and how I could make one too.
Marshall made it based on a video on YouTube and a few basic measurement from another shopping site, as you do.
Have a look at Carter's walker.
How to make a DIY baby walker
This woodworking project can be made with any scraps of wood you have laying around. I would use pieces that are at least 19mm thick for the main parts.

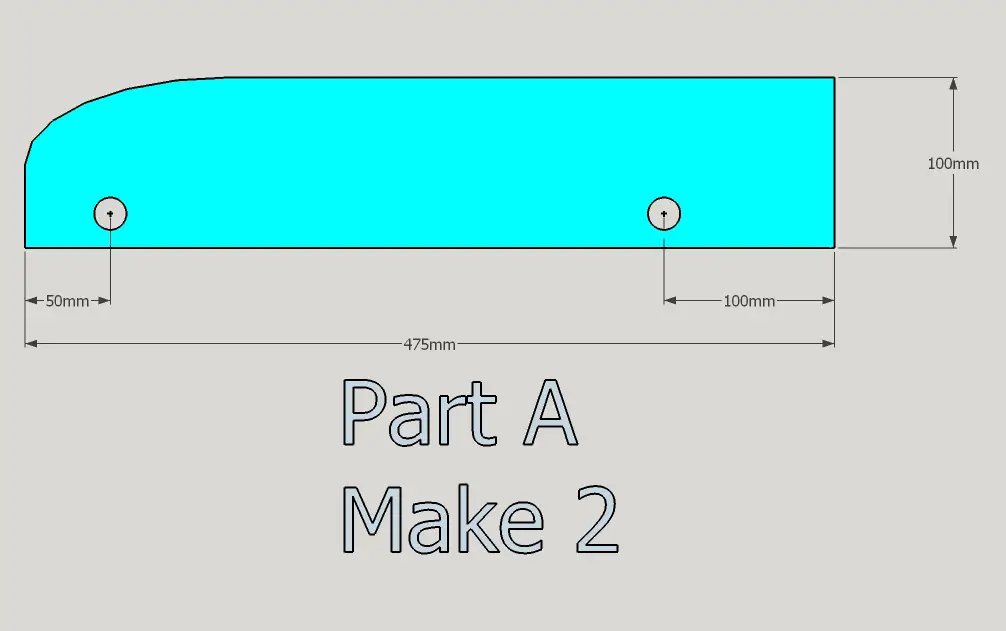
An exploded view showing how the parts fit together.
Click on any of the images to enlarge.

A close up with some parts removed to show the rear axle with pegs that move the arms up and down.
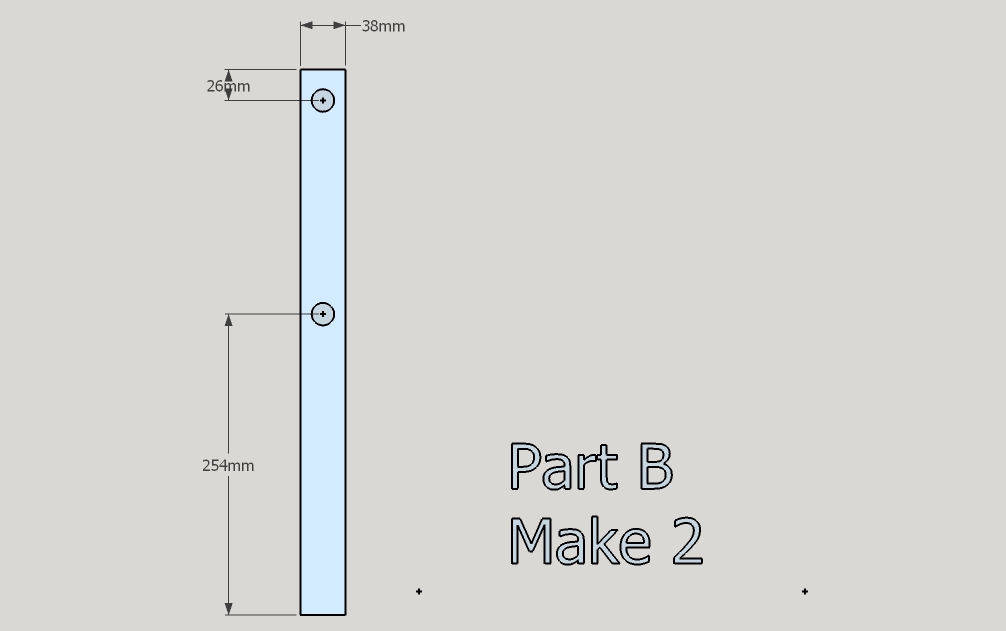
Dimensions for Part B, the uprights which supports the handle.
Note the handle is a 19mm dowel, which coincides with the size of a broom handle. Just saying.

More parts with dimensions.
The dimensions are just a guide.
The rear axle is red, the pivot for the arms is green.
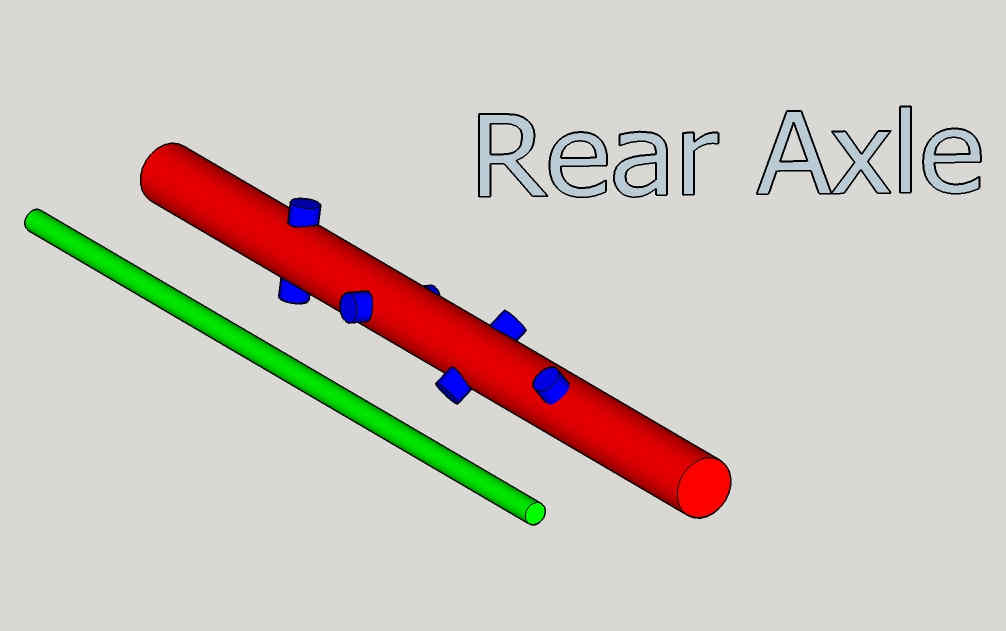
Showing the rear axle with the pegs that lift the arms.
The pegs can be almost anything you want, I would use 8mm dowel.
I would make the length of rear axle oversize so that I could trim it to fit during final assembly.
The pivot in the video appears to be a metal rod, which I think would be a good idea.
A few spacers made from plastic pipe to keep the arms in line with the pegs.
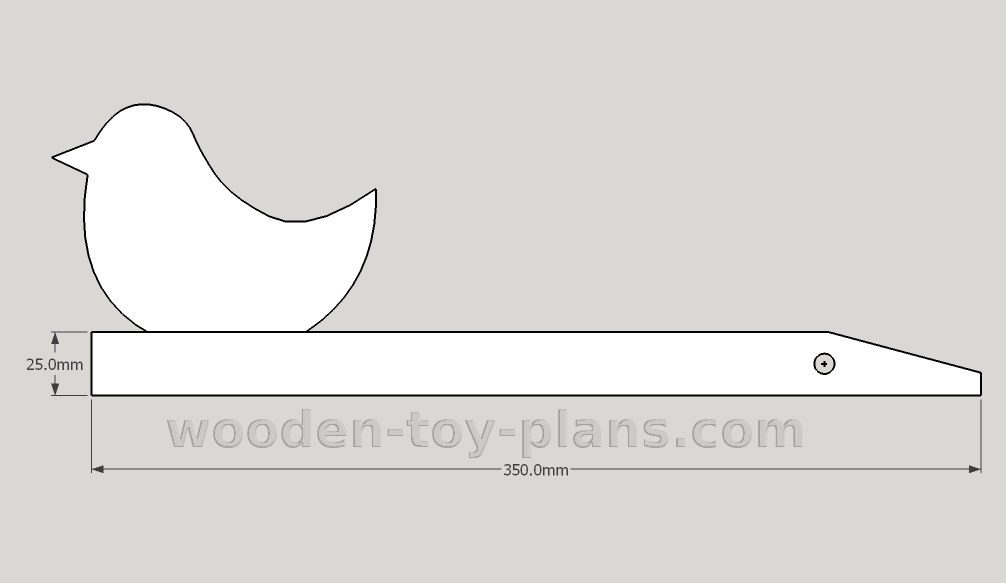
The arm with the shape of a bird as seen in the video. Here I am showing the length of the arm and the proposed position of the pivot point.
Because I have not actually made this DIY baby walker yet, these dimensions are a guide. I would make a trial piece first to test the effect of changing the position of the pivot point.
Moving the pivot point to the right would increase the height of the rise and fall, as well as increasing the amount of force required, which in turn would make it harder to push.
Indeed, Marshall found it necessary to make rubber treads for the rear wheels. It would certainly help with tiled floors.
Maybe my concerns are exaggerated, but my feeling is that there would be a sweet spot in relation to the position of the pivot and the length of the studs on the axle.
On the other hand, moving the pivot point to the left would have the effect of decreasing the rise and subsequent fall, which in turn means less volume on the tone bar in the front.
More shapes for the arms
These are the shapes Marshall used for Carter's walker.
The only limit is your imagination. Why not use Christmas bells for a bit more noise, or Easter bunnies, or better still, make a variety of different shapes that you can change from time to time.
Have you seen those shoes that light when you walk? I'm pretty hopeless when it comes to electronics, but I am sure it is possible to make something with LED's that light up when they strike the tone bar.
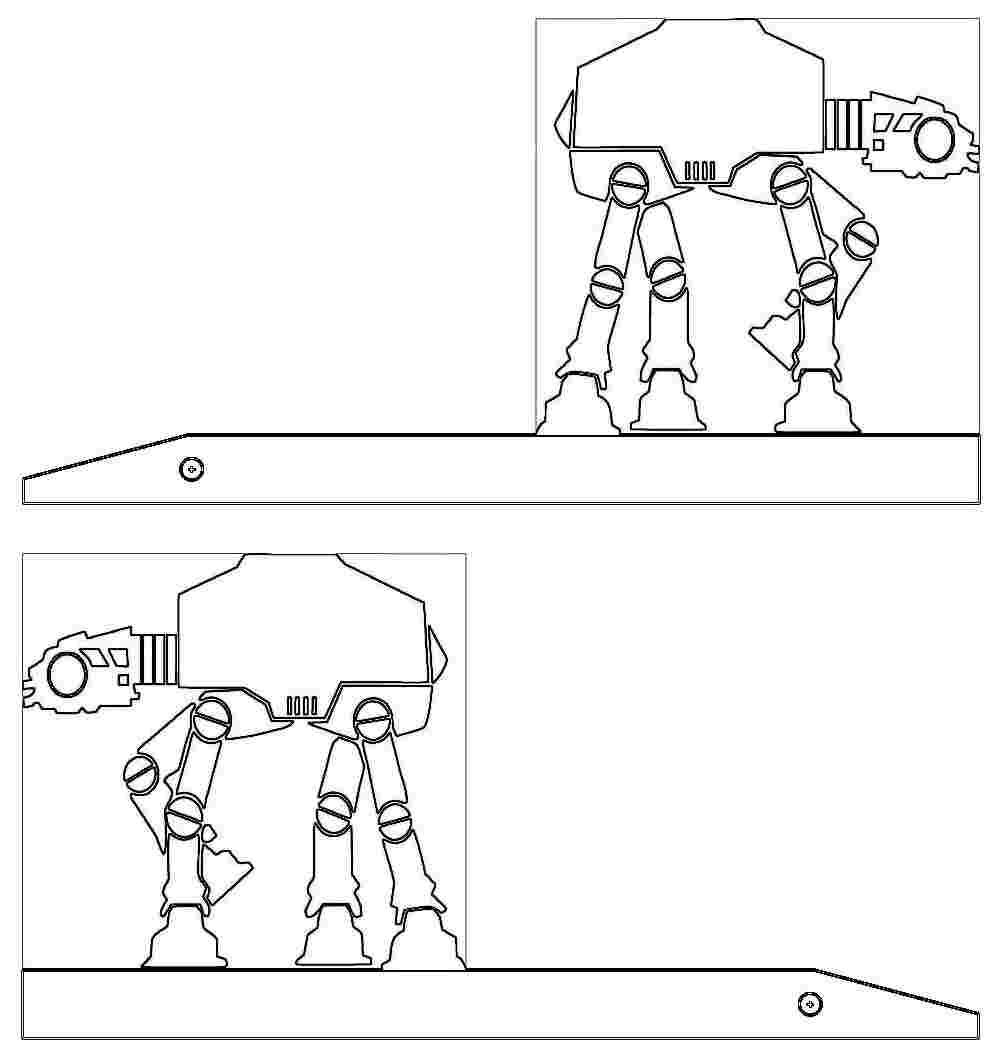
Imagine a Star Wars At-At that lights up when it walks.
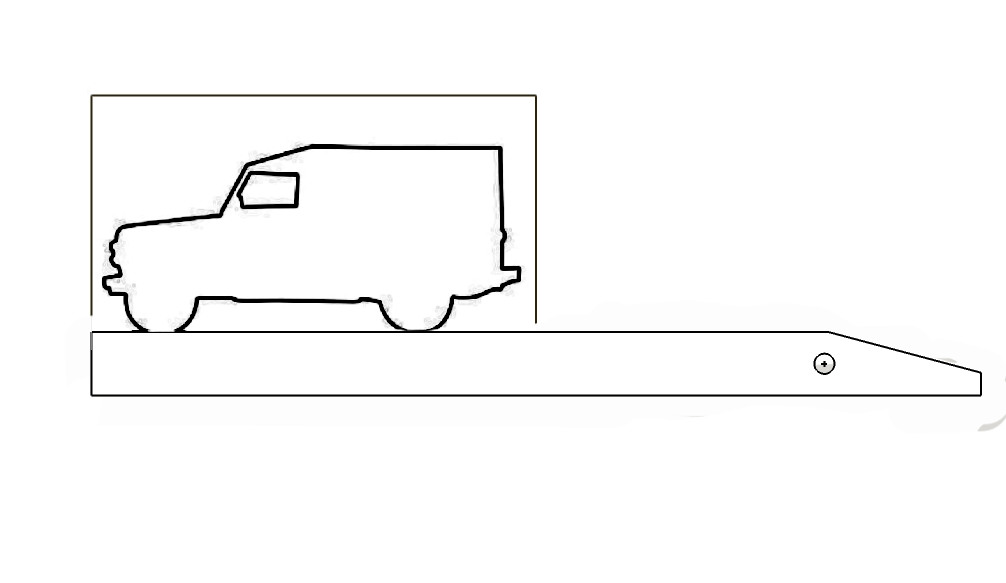
If you would like to follow Carter's DIY baby walker, here are the shapes Marshall used.
The Jeep Wrangler is easy enough to cut with a scroll saw or a fret saw.
The Star Wars At-At shows a bit more detail. I would give serious consideration to simply making a print and mounting it onto a board. Which is why I made a left and right hand image.
In today's world, I am given to understand that one can indeed print directly from one's mobile device to a Bluetooth enabled printer.
I still do it the old fashioned way, directly from my computer via a USB cable.
Download DIY Baby Walker
Download a print ready PDF copy of this woodworking project.
Ask me anything, share your project
Here you can ask me anything, share up to 4 photos of your projects.

How to turn your hobby into a profitable business.
Solo Build It! (SBI!) is an online platform that empowers solopreneurs to build profitable online businesses. For over two decades, SBI! has been trusted by members to turn their passions, hobbies, or skills into successful ventures. Recently, the introduction of ChatGPT has ushered in a new era of AI-assisted content creation within SBI!.
Allow me to introduce you to Tai, your business-building AI assistant. Tai is now available in SBI! and can help you navigate the world of online entrepreneurship. Whether you’re a complete beginner or an experienced solopreneur, SBI! provides everything you need to create an income-generating website or blog.
Here are some reasons why starting an online business with SBI! and Tai is a great choice:
- Adaptable Lifestyle: Building an online business adapts to your desired lifestyle. Enjoy newfound freedom without being tied down to another job.
- Low Startup Costs: You don’t need significant capital to begin. All you require is a computer, internet access, a roadmap, and an affordable platform like SBI!.
- Flexibility: Work as much or as little as you want, wherever you choose. Once you’ve built a solid foundation, you can earn money even on days you don’t actively work.
- Portability: Take your business with you, especially if travel is part of your retirement dream.
- Global Impact: Help people worldwide by sharing your knowledge and expertise.
- Continuous Learning: Running an online business keeps your mind active and energized.
SBI! combines education, tools, and a proven process to give you the highest chance of achieving your financial goals. Whether you’re aiming for financial independence or simply want a rewarding project during retirement, SBI! can guide you.
If any of this resonates with you, I invite you to explore SBI! and discover how it can help you build your online retirement business. Even if you’re a beginner, SBI! provides the resources you need to succeed. Say hello to Tai and embark on your entrepreneurial journey! 🚀
Learn more and try Tai for free on the Solo Build It! website.
- Home
- Free Wooden Toy Plans
- Diy Baby Walker
Recent Articles
-
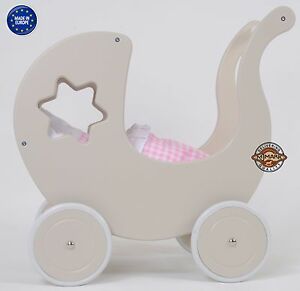
doll's pram on wheels
Mar 09, 25 08:53 AM
 My name is Maryvonne Please, could you help me? I want to build a doll pram but I would like a plan. Thank you very much for your answer.
 -
Toy doll high chair
Mar 09, 25 08:52 AM
Dear Sir/Madam I am looking for a plan to build a toy doll high chair, I built the rocking horse you have on your page from one of your plans and it worked -
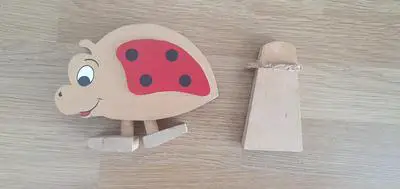
Angle of ramp
Mar 09, 25 08:51 AM
 Hello there I found your website whilst looking for details of how to make a new ramp for a walking ladybird that belonged to my children in the 90s. The