Doll Bunk Bed

Concept Sketches

This is an image from the SketchUp model I made. I have shown it as color coded to make it easier to identify the parts of the doll bunk bed.
It has been an interesting challenge to find a way to make a 3 way corner joint.
A simple butt joint would not be strong enough to withstand rough handling. in my humble opinion.
So this is my solution to using dowels to make the joint a bit stronger.

Close up view of the corner joint.
I have made the rails and posts translucent to show how the dowels are inserted at an angle.
Tools
One of the reasons I like to design and make wooden toys is the fact that I don’t need to use expensive woodworking machinery.
All I used for this project was an electric drill, a 12 inch disk sander and a hand saw.
If you have a clamping mitre box saw combination, you wouldn’t really need the disk sander.
If you want to, you can use a router to cut the grooves for the base. To do this, I used a D-handle router mounted in a home made router table. Click on the link to find out how I made it.
Materials
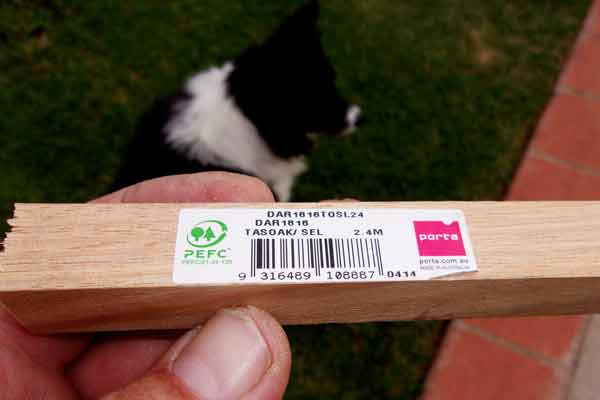
The label says DAR 18 18 TASOAK/SEL
Taking a wild guess, this is what I think it means:
Dressed All Round 18mm x18mm Tasmanian Oak Selected.
Quite the pedigree. It’s available in 2.4m lengths.
Please note that this is just an example. Where you get your stock may sell Meranti which is also fine for this project, in my humble opinion.
For the base I used 7mm plywood.
I found a packet of 5mm dowels at my local craft shop, which proved to be ideal for this project.
Cutting the rails to length.
The horizontal rails have to be cut to the same length, and the ends have to be square.
The way that I did this is to tape the pieces together and sand them square with a 12 inch disc sander.
Another way to do this is with a clamping mitre box saw combination.
I am using 7mm project plywood for the base, and to attach this to the rails, I have to cut a groove with a router mounted in a router table.
As I said before, if you don’t have a router, simply attach the base to the underside of the frames.
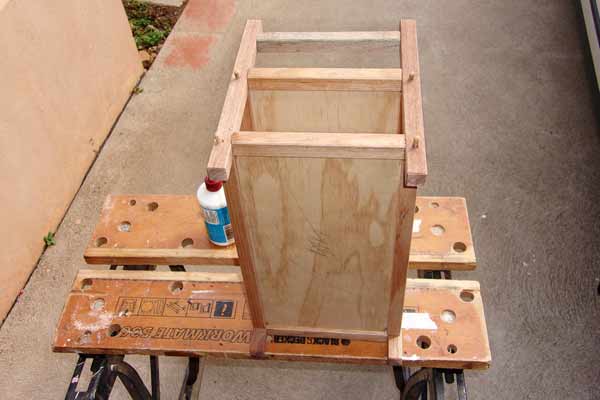
Assemble the frames.
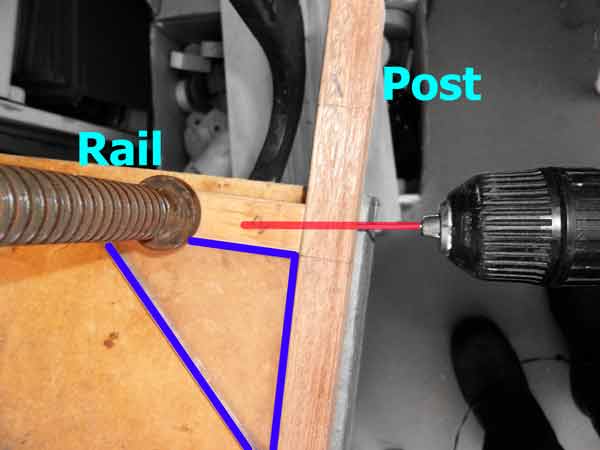
I decided to make the end frames first. In the photo above, you can see how I have clamped the post and end rails to drill the holes for the dowels.
The holes are drilled in the post on the high side on one corner, aiming slightly down into the end rail.
The red line shows the angle to be drilled, and the blue triangle highlights the clear plastic square I was using.
Remember to mark the frames as you go so that you can re-assemble them in the final steps.
The top rail dowel pin is simply drilled at 90 degrees because there is no other connecting rail.
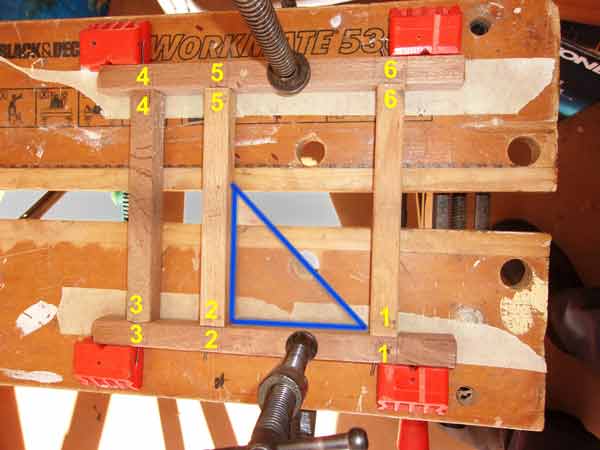
Here is how I assembled the end frames using my trusty B&D Workmate. You don’t see the grooves in this photo because they are facing down.
I found it was easier to complete the two end frames first, one at a time, with the assembly of the side frames in the final step.
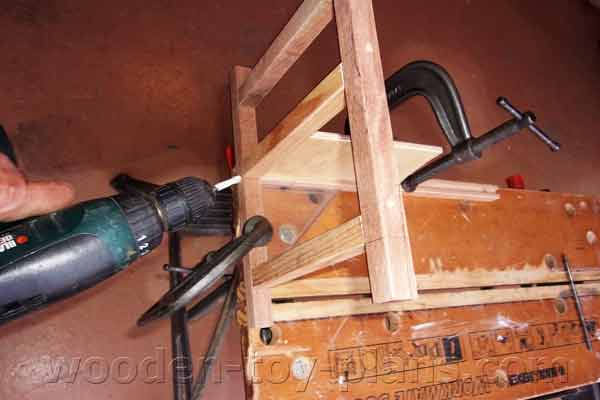
This photo shows the end frames already assembled. I am using a scrap piece of 7mm plywood to keep the alignment, and in the corner you may notice a clear plastic square.
Trim the dowels flush, sand down the sharp edges, and the project is ready for painting or varnishing.
DIY Doll Bunk Bed
This DIY doll bunk bed is available as part of the free print ready set of toys for girls eBook

You might like these toys for girls
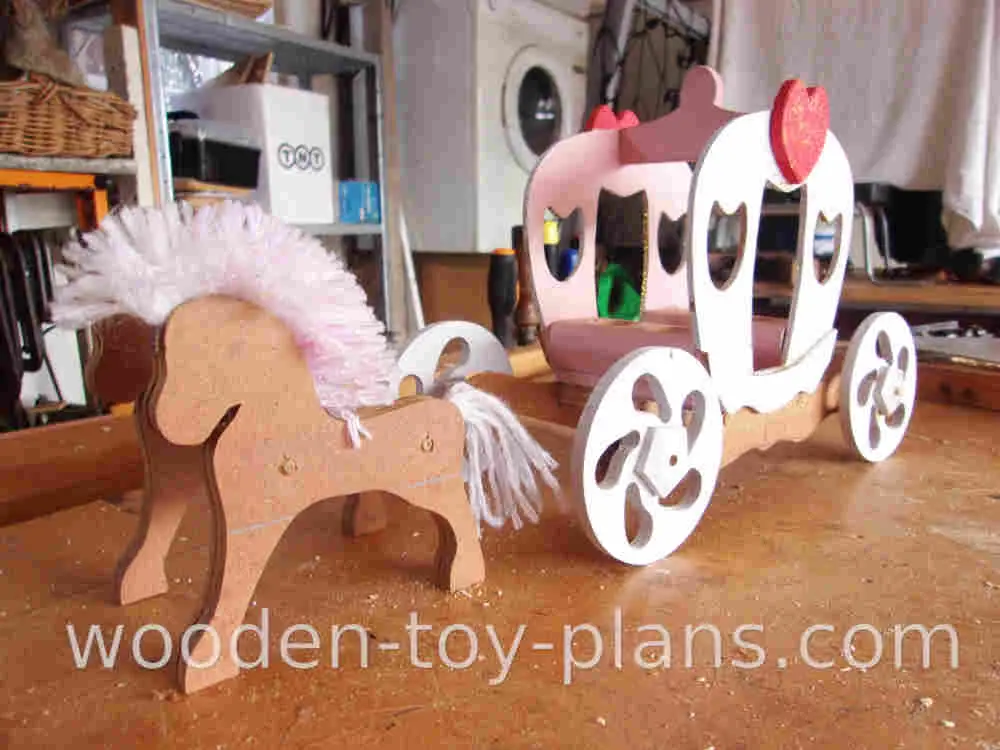
Cinderella doll with carriage and how to make one yourself.
It is easy to buy plastic Cinderella doll with carriage, but as a real gift you could make a fairy tale doll coach.
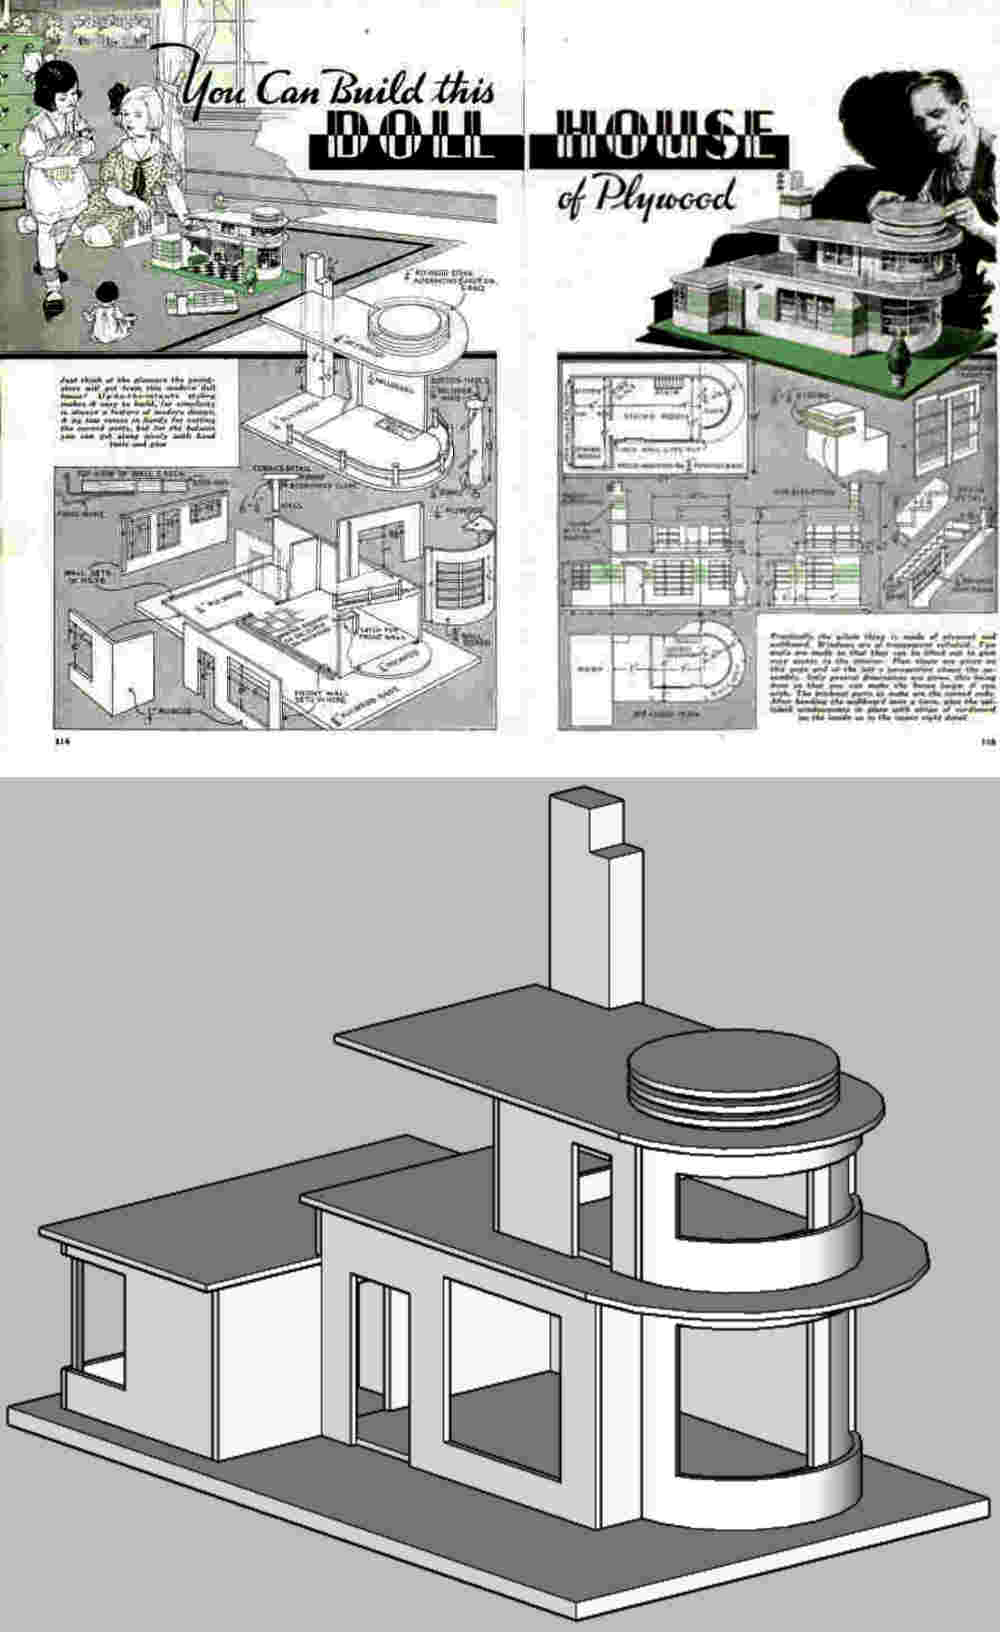
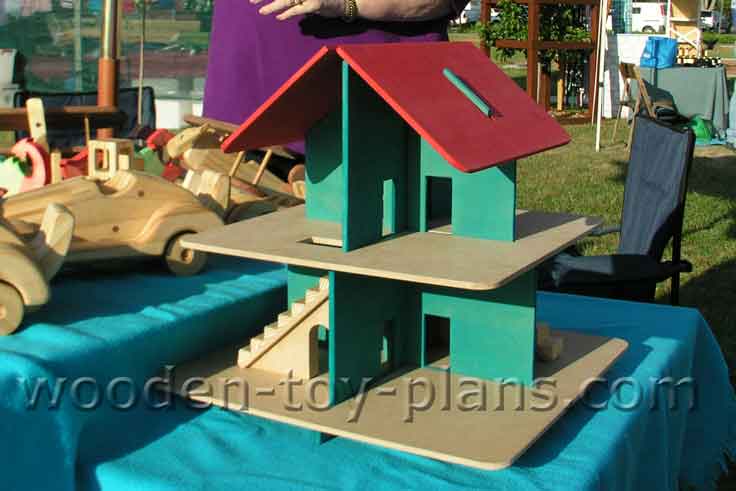
dolls house plans woodworking project play scale and miniatures
Dolls house plans to build your own doll house, from simple knock down fold away to a Victorian style Barbie scale
toys for girls free print ready PDF downloads
DIY Toys for girls project plans, dolls house, baby doll cradle, doll furniture plans, fashion doll bunk bed Doll rocking horses

How to turn your hobby into a profitable business.
Solo Build It! (SBI!) is an online platform that empowers solopreneurs to build profitable online businesses. For over two decades, SBI! has been trusted by members to turn their passions, hobbies, or skills into successful ventures. Recently, the introduction of ChatGPT has ushered in a new era of AI-assisted content creation within SBI!.
Allow me to introduce you to Tai, your business-building AI assistant. Tai is now available in SBI! and can help you navigate the world of online entrepreneurship. Whether you’re a complete beginner or an experienced solopreneur, SBI! provides everything you need to create an income-generating website or blog.
Here are some reasons why starting an online business with SBI! and Tai is a great choice:
- Adaptable Lifestyle: Building an online business adapts to your desired lifestyle. Enjoy newfound freedom without being tied down to another job.
- Low Startup Costs: You don’t need significant capital to begin. All you require is a computer, internet access, a roadmap, and an affordable platform like SBI!.
- Flexibility: Work as much or as little as you want, wherever you choose. Once you’ve built a solid foundation, you can earn money even on days you don’t actively work.
- Portability: Take your business with you, especially if travel is part of your retirement dream.
- Global Impact: Help people worldwide by sharing your knowledge and expertise.
- Continuous Learning: Running an online business keeps your mind active and energized.
SBI! combines education, tools, and a proven process to give you the highest chance of achieving your financial goals. Whether you’re aiming for financial independence or simply want a rewarding project during retirement, SBI! can guide you.
If any of this resonates with you, I invite you to explore SBI! and discover how it can help you build your online retirement business. Even if you’re a beginner, SBI! provides the resources you need to succeed. Say hello to Tai and embark on your entrepreneurial journey! 🚀
Learn more and try Tai for free on the Solo Build It! website.
- Home
- Girls Toys
- Doll Bunk Bed
Recent Articles
-
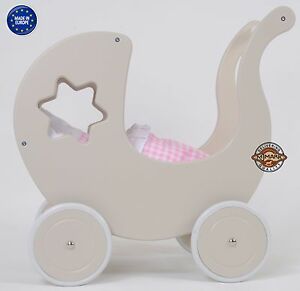
doll's pram on wheels
Mar 09, 25 08:53 AM
 My name is Maryvonne Please, could you help me? I want to build a doll pram but I would like a plan. Thank you very much for your answer.
 -
Toy doll high chair
Mar 09, 25 08:52 AM
Dear Sir/Madam I am looking for a plan to build a toy doll high chair, I built the rocking horse you have on your page from one of your plans and it worked -
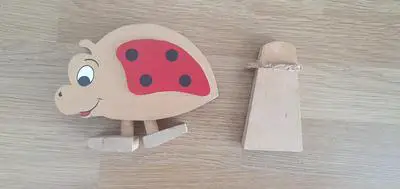
Angle of ramp
Mar 09, 25 08:51 AM
 Hello there I found your website whilst looking for details of how to make a new ramp for a walking ladybird that belonged to my children in the 90s. The