Free Rocking Horse Plans Andy
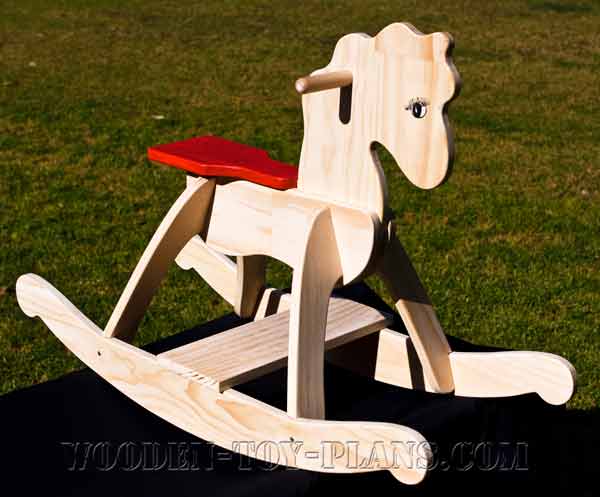
There are two versions of this rocking horse project, the original with a seat height of 500mm (20 inches) and Andy Junior with a seat height of 350mm (14 inches.)
Tools
These are some of the tools used to complete free rocking horse plan Andy. The links will take you to the shopping channel eBay, where you can see the latest tools on display and compare prices.
- Power Drill
- Band saw scroll saw or jigsaw.
- Tenon saw.
- Combination square.
- Sliding bevel.
- Smoothing plane.
- Woodworking clamps.
- Builders square.
Optional Tools
To make duplicate parts such as the legs, I used a router mounted in a (shop made) router table with a pattern cutting bit.
The router is also useful in rounding over the edges.
Have a look at my shop made router table. Link opens a new page.
Materials
These two projects have been designed to use 19mm (3/4") project timber that is easy to obtain from your local timber supplier and most hardware stores. Sometimes called white wood. The handle is a piece of dowel that just happens to be the same size as a broom handle.
For the eyes, you can use wiggle-eyes from your local craft or novelty store. Use ribbon or imitation leather about 10mm wide for the bridle.
Step by Step Instructions
Use the full size patterns to make templates. I find the templates useful to mark out the pattern directly onto the timber to minimize waste.
The templates are used as a guide for cutting out and then trimming with a trim bit mounted in a router.
 Step 1
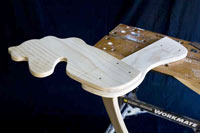
Photo shows how the template is used with a trim bit mounted in a router. The template is attached to the workpiece with double sided tape.
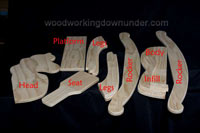
Photo shows the component parts cut out, edges rounded over and sanded smooth, ready for assembly.
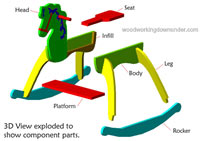
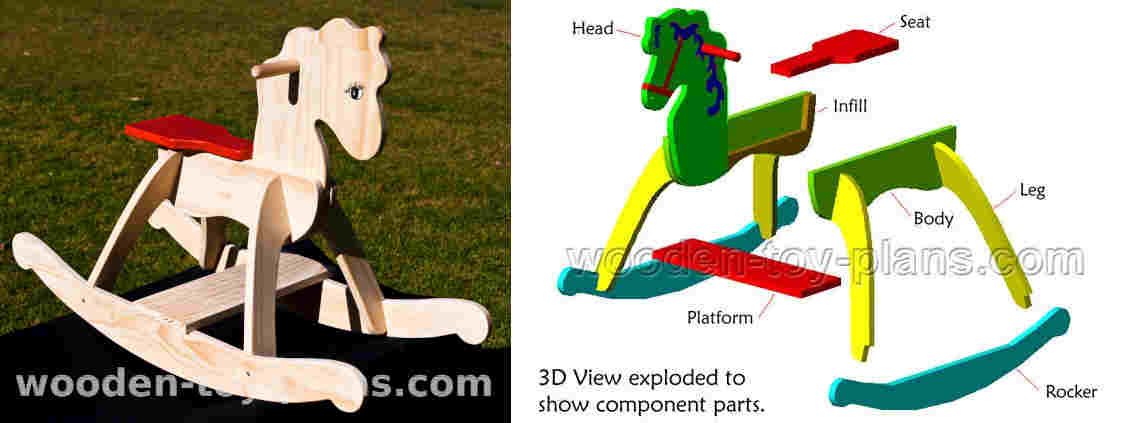
Showing an exploded 3D view of how the parts fit together.
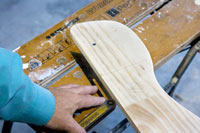
With one screw attached to allow the leg to swivel the sliding bevel is used to measure the angle. Drill a pilot hole for the second screw.

Showing the head in position with the infill. Note the legs are not attached in this photo.
Photo showing the head attached. Note this time the infill is not shown.
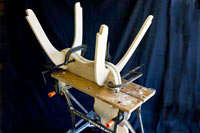
Photo showing the other body side glued and clamped in place.
All that remains is to attach the rockers and the platform and you have a brand new rocking horse.
Download Free Rocking Horse Plans Andy
Instant digital download print ready PDF Rocking Horse AndyVisit the woodworking projects gallery to view projects from people all around the world.
How to turn your hobby into a profitable business.
Solo Build It! (SBI!) is an online platform that empowers solopreneurs to build profitable online businesses. For over two decades, SBI! has been trusted by members to turn their passions, hobbies, or skills into successful ventures. Recently, the introduction of ChatGPT has ushered in a new era of AI-assisted content creation within SBI!.
Allow me to introduce you to Tai, your business-building AI assistant. Tai is now available in SBI! and can help you navigate the world of online entrepreneurship. Whether you’re a complete beginner or an experienced solopreneur, SBI! provides everything you need to create an income-generating website or blog.
Here are some reasons why starting an online business with SBI! and Tai is a great choice:
- Adaptable Lifestyle: Building an online business adapts to your desired lifestyle. Enjoy newfound freedom without being tied down to another job.
- Low Startup Costs: You don’t need significant capital to begin. All you require is a computer, internet access, a roadmap, and an affordable platform like SBI!.
- Flexibility: Work as much or as little as you want, wherever you choose. Once you’ve built a solid foundation, you can earn money even on days you don’t actively work.
- Portability: Take your business with you, especially if travel is part of your retirement dream.
- Global Impact: Help people worldwide by sharing your knowledge and expertise.
- Continuous Learning: Running an online business keeps your mind active and energized.
SBI! combines education, tools, and a proven process to give you the highest chance of achieving your financial goals. Whether you’re aiming for financial independence or simply want a rewarding project during retirement, SBI! can guide you.
If any of this resonates with you, I invite you to explore SBI! and discover how it can help you build your online retirement business. Even if you’re a beginner, SBI! provides the resources you need to succeed. Say hello to Tai and embark on your entrepreneurial journey! 🚀
Learn more and try Tai for free on the Solo Build It! website.
- Home
- Rocking Horses
- Free Rocking Horse Plans Andy
