Wooden Airplane Plans

Free wooden airplane plans you can download. How to make a wooden toy airplane with just a few woodworking hand tools and scraps of wood. The fuselage, propeller, undercarriage and wheels are made from 19mm (3/4") pine. The wings, rudder and tailplane is made from 12mm (1/2") thick maple or pine.
Tools
This wooden toy airplane can easily be made with the kind of tools the average home handyman already has:
Cordless power drill is useful as a screwdriver as well as drilling holes.
A band saw or a scroll saw for cutting curves.
A tenon saw.
A combination square.
A few woodworking clamps.
Hacksaw to cut the dowel axles to length.
Wood file to round over all the edges.
Sanding block and 120 and 80 grit sandpaper.
A selection of drill bits.
Optional tools.
This is a list of tools that may be considered to be optional. They are not essential for completing the project, but they do make certain tasks much easier which adds to the enjoyment of woodworking.
- Linisher/sander or a 12" disc sander.
- Drum sanders of various diameters.
- Router with 6mm and 4mm round over bits.
- Drill press or at least a drill guide.
If you have access to a wood turning lathe, you could make the fuselage in the round, so to speak, instead of the profile cut-out as shown.
You can make your own wooden wheels or buy them ready made.
Materials
There is not a lot of wood in this wooden toy airplane, and you probably have a few pieces left over from another project. This is what you will need:
- 19mm thick pine 50mm wide x 275mm long for the fuselage and nose, or add an extra 100mm for a total of 375mm long if you are going to make your own wheels.
- 12mm thick pine or meranti 90mm wide x 850mm long for the wings, tailplane and rudder.
- 8mm dowel 600mm long for the wing struts and the axle.
- Four 8g woodscrews 30mm long and one 8g woodscrew 50mm long.
Instructions For Wooden Airplane Plans
You may want to make more than one wooden toy airplane, so it would be a good idea to make templates of the fuselage, tailplane and rudder.
- Trace the outline of the fuselage and the nose onto a piece of 19mm (3/4") pine and cut out the shapes using a jigsaw or bandsaw.
- Position the nose on the fuselage and drill a 2.5mm pilot hole for the propeller in the centre of the nose.
- The next step is to glue the nose to the fuselage using the 30mm long woodscrew. Set it to one side for the glue to set.
- Trace the outline of the rudder and tailplane onto a piece of 12mm pine or meranti, and cut out the shapes using a jigsaw or bandsaw.
5. Using a scrap piece the same thickness as the rudder, mark out a notch on the tailplane.
6. Use the fuselage to measure the depth of the notch for the rudder. Cut out the notch carefully for a snug fit.
7. Mark out the wings to the dimensions shown on the wooden toy airplane plan. Using the combination square, mark out the position of the struts on the top wing only.
Using a pair of compasses I made my wingtips round, but you can make them any shape you want to. I used a 12" disc sander to clean up the edges, but it can be done with a wood file instead.
9. There is a trick to drilling the holes for the wing struts for this wooden toy airplane. On a real biplane, the top wing sits slightly forward relative to the bottom wing. It is important that the wing struts line up, so be sure to clamp the two wings together and drill the holes for the 8mm dowels accurately with a drill press. Mark both wings "left" and "right" so that when it comes to final assembly everything lines up the way it should. Do not drill the hole in the centre of the top wing yet, leave this until step 16
Make a pair of landing gear struts. Clamp them together and drill a hole for the axle with the 8.5mm drill bit. This is where the drill press is useful.
Round off the edges of the wings and the tailplane parts, and the landing gear struts except the area where they are glued to the wings. Again, a router is useful for this step, but you may not be comfortable with such small pieces. Use a wood file and sandpaper instead. Note that if you are going to be using a router, I found the 6mm roundover bit removed too much material, so I used a 4mm roundover bit instead.
Glue the rudder to the tailplane, making sure that everything is perpendicular.
Mark out the position of the landing gear struts and attach them to the wings using the 8x30 woodscrews. Note how the axle keeps the struts aligned. Once the glue has set, you may want to remove the screws and plug the holes with 8mm dowel.
By now, the glue should have set on the fuselage, so remove the woodscrew and round off all the edges except for where the bottom wing and the tailplane is seated. Use a router or a wood file and 80 grit sandpaper.
Glue the bottom wing to the fuselage, making sure everything is perpendicular. Leave it to set.
Carve the propeller from a piece of 19mm pine, 100mm long by 30mm wide. It is easier to drill the 4.5mm hole for the wood screw before carving it.
Glue the tailplane assembly to the fuselage, again ensuring that everything is perpendicular. It is easier to use a woodscrew to clamp the tailplane assembly in place. Once the glue has set, the woodscrew my be replaced with a dowel to form a tailskid.
Cut 4 pieces of dowel 90mm long for the wing struts.
The time has come, (the walrus said) to drill the hole in the top wing. Using the dowel struts, line up the top wing left and right as marked earlier, and carefully drill the hole for the 8mm dowel through the top wing into the fuselage. Now the top wing may be glued in place.
All that remains is to attach the propeller and the wheels and you are ready to zoom around the room!
Download Wooden Airplane Plans
Download wooden airplane plans.
More Wooden Airplane Plans
A collection of extraordinary model airplanes that will amaze you, and they actually fly.
I am starting a collection of vintage toy airplane plans from the archives.
For more ideas and inspiration, visit my blog on making wooden toy airplanes.
More Toys For Boys
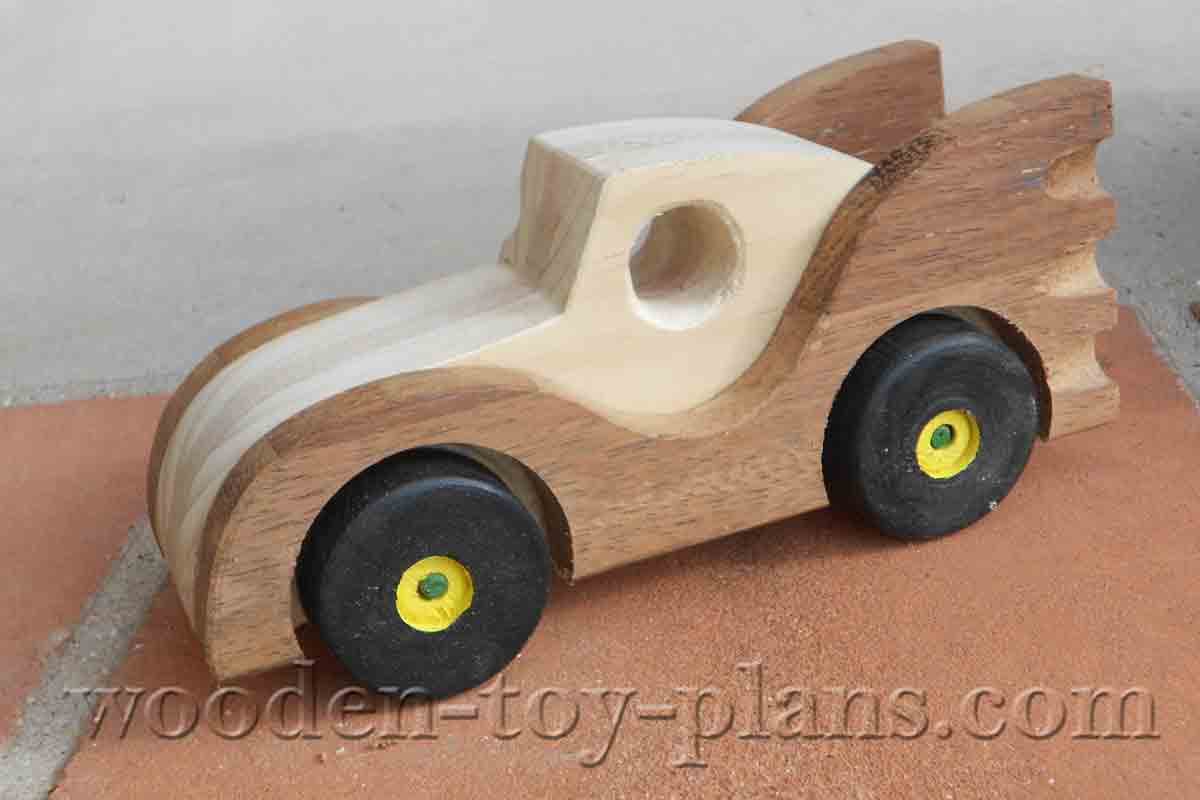
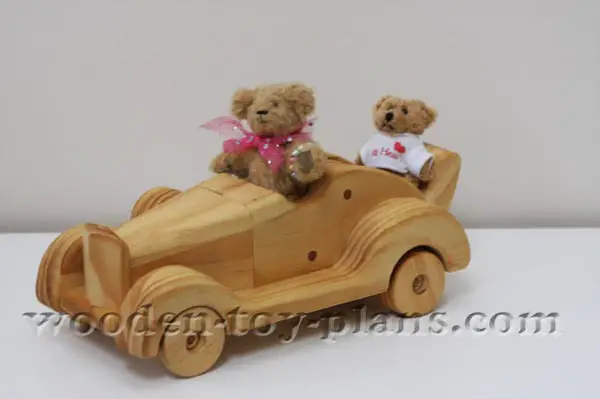
Batmobile Toy Car Plans build your home made toy. Full size templates.
Free plans to build your very own batmobile toy car out of wood. Simple design for beginners.
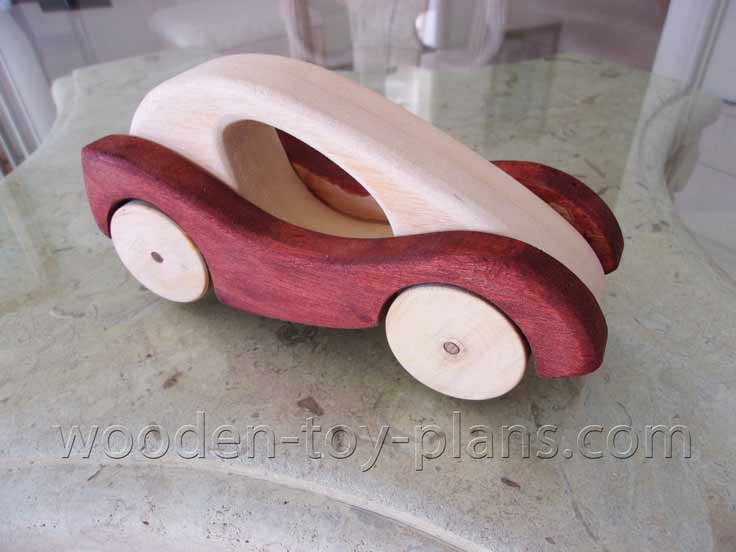
Wooden Toy Car Plans fun project free design
Free wooden toy car plans. Make your own wooden toy car with these free plans that include step by step instructions with diagrams and photos.
Wooden Toy Car Plans print ready PDF download woodcraft project
Wooden toy car plans free to download. Fun to make roadster ideal for beginner with limited tools. Detailed plans and building guide.
Gallery of Wooden Toy Airplane Models

Make a monoplane by leaving the top wing off. Painted with food colouring.

This wooden toy biplane was made by Peter from Staffordshire, in England for his grandson.

Share your wooden toy airplane project.
This where you can share photos of your project.
Simply fill in the form below.
What Other Visitors Have Made
Click below to see more projects from other visitors.

3 planes out of one
Hi Tony
My name is Les.
Quite a few years ago I started making wooden toys for the needy.
Its a hobby of mine as I cant work anymore due to shoulder …

How to turn your hobby into a profitable business.
Solo Build It! (SBI!) is an online platform that empowers solopreneurs to build profitable online businesses. For over two decades, SBI! has been trusted by members to turn their passions, hobbies, or skills into successful ventures. Recently, the introduction of ChatGPT has ushered in a new era of AI-assisted content creation within SBI!.
Allow me to introduce you to Tai, your business-building AI assistant. Tai is now available in SBI! and can help you navigate the world of online entrepreneurship. Whether you’re a complete beginner or an experienced solopreneur, SBI! provides everything you need to create an income-generating website or blog.
Here are some reasons why starting an online business with SBI! and Tai is a great choice:
- Adaptable Lifestyle: Building an online business adapts to your desired lifestyle. Enjoy newfound freedom without being tied down to another job.
- Low Startup Costs: You don’t need significant capital to begin. All you require is a computer, internet access, a roadmap, and an affordable platform like SBI!.
- Flexibility: Work as much or as little as you want, wherever you choose. Once you’ve built a solid foundation, you can earn money even on days you don’t actively work.
- Portability: Take your business with you, especially if travel is part of your retirement dream.
- Global Impact: Help people worldwide by sharing your knowledge and expertise.
- Continuous Learning: Running an online business keeps your mind active and energized.
SBI! combines education, tools, and a proven process to give you the highest chance of achieving your financial goals. Whether you’re aiming for financial independence or simply want a rewarding project during retirement, SBI! can guide you.
If any of this resonates with you, I invite you to explore SBI! and discover how it can help you build your online retirement business. Even if you’re a beginner, SBI! provides the resources you need to succeed. Say hello to Tai and embark on your entrepreneurial journey! 🚀
Learn more and try Tai for free on the Solo Build It! website.
Recent Articles
-
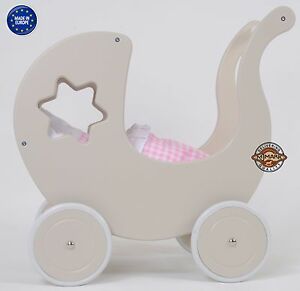
doll's pram on wheels
Mar 09, 25 08:53 AM
 My name is Maryvonne Please, could you help me? I want to build a doll pram but I would like a plan. Thank you very much for your answer.
 -
Toy doll high chair
Mar 09, 25 08:52 AM
Dear Sir/Madam I am looking for a plan to build a toy doll high chair, I built the rocking horse you have on your page from one of your plans and it worked -
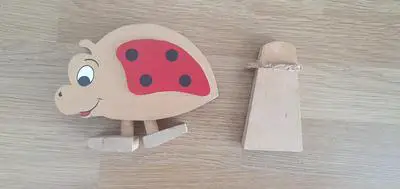
Angle of ramp
Mar 09, 25 08:51 AM
 Hello there I found your website whilst looking for details of how to make a new ramp for a walking ladybird that belonged to my children in the 90s. The
%20pine.%20The%20wings%2C%20rudder%20and%20tailplane%20is%20made%20from%2012mm%20(1%2F2%22)%20thick%20maple%20or%20pine.)